Working with Images
How to use images in Easil
Easil supplies you with several different types of images available for your use in your designs. To use an image, search for something on the Image tab, then simply click or drag across an image you like.

Easil Assets
There are thousands of Easil assets available for you to use. These include both images and graphics.
Premium Images
Choose from over 29 million stock images to customise your design. Thanks to integration with stock photo libraries, Easil can offer these premium images for use in designs for a low price.
User Images
You can upload and organise your own images for use in any of your Easil designs. Uploading images will be explained further down in this post.
Both free and premium images are watermarked whilst you are in the canvas workspace, and also in draft/proofing downloads. The watermarks are removed after processing through the cart for premium images, or upon download of high resolution files.
Types of Images in Easil
There are two distinctively different types of images available in Easil.
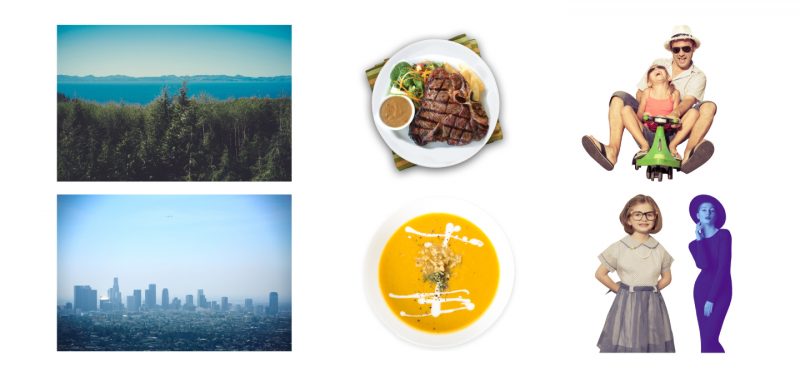
1. Standard
These are the most common images in the Easil library. They are standard, non-transparent images. These can include photographs, textures and patterns. The image is a square or landscape orientation, with the image fully extending from edge to edge.
2. Cut Out (Deep Etched)
Cut out images are isolated elements with the backgrounds removed. These can be placed on top of other images, graphics, or text so that they are still visible underneath the cut out image. These can include images of people, objects & food, as well as some graphical headings & titles that are especially ornate.
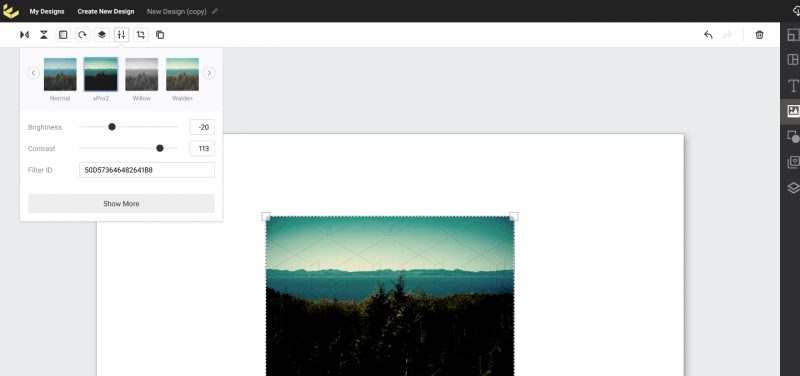
Applying Filters to your Images
Both ‘Standard’ and ‘Cut Out’ images can have filters applied to them, to adjust them to better fit the style of your specific design. Simply select the image or background you would like to filter, and the filter options will appear in the Edit sidebar. Click through the various preset filters to view. The filter is immediately applied to your image when you click on it.
Advanced
The ‘Advanced’ filter tab gives you the ability to further adjust your image. Try experimenting with the sliders for the various effects!
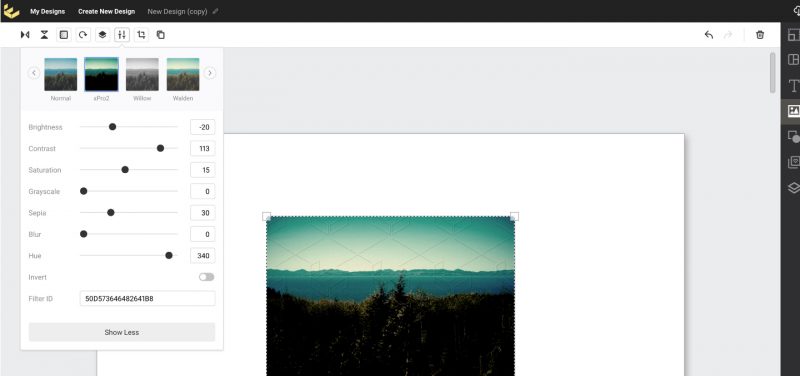
If you would like to apply the same filter to another photo, simply copy the Filter Id and then paste it into the Filter Id area on any further images to match the same look & feel.
Crop Image
Select the ‘Crop Image’ button to eliminate parts of an image you don’t want to be visible.
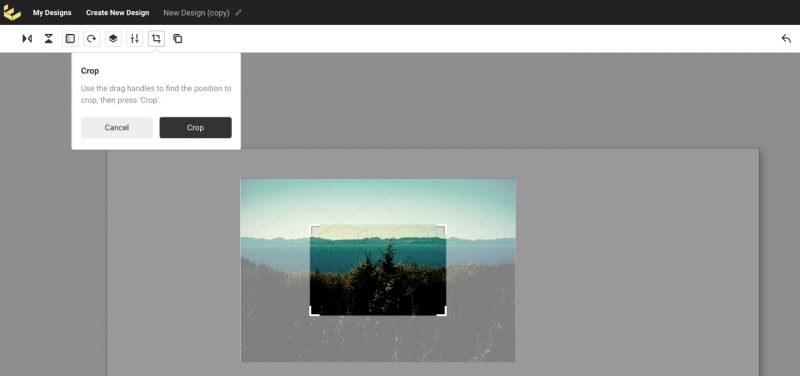
Drag the corner controls to display the part of the image you would like to keep, and then click ‘Crop’ to complete the action. Please note that this does not permanently delete the eliminated section of the image, and should you need to further adjust, you can enter the crop interface at any time.
Note – Crop is only available on photographic images.
Using Your Own Assets
Have a specific photo of your venue, a dish you serve, or some branding elements for your business? You can use your own photos/images in Easil if you wish to do so. On the images tab you will see buttons for “My Images” and “Upload”
My Images
This will show you all of your own uploaded images.
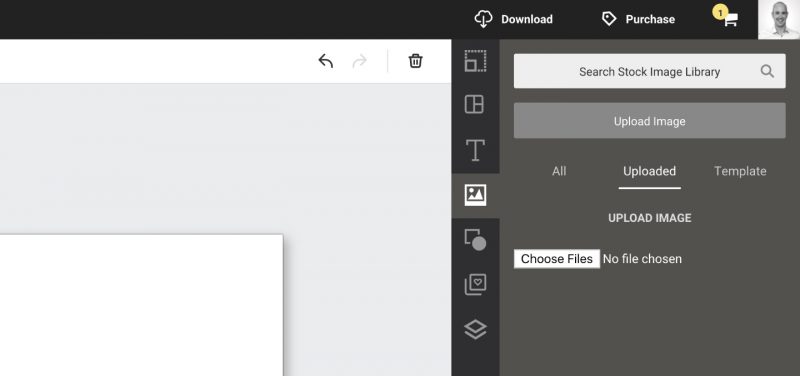
Upload
This allows you to upload a file from your computer. Click “Choose File” then select the file you wish to upload in the dialog box. We recommend using high resolution PNG or JPG files.
For more information about image specifications, click here.