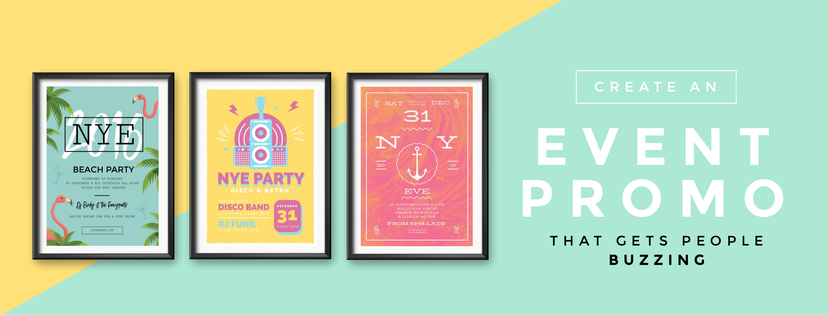
You’ve got a big event coming up, and you’re ready to get down. Just one catch — you need to spread the word quickly to get people excited and anxious to drop in.
A good event promo is the perfect way to plug your shindig and get the details out, and you can make one in a matter of minutes with an Easil template. Follow this simple four-step guideline, and you’ll have the perfect graphic to use as a flyer or a social media post — one that ensures you won’t be partying alone.
1. The Design
Your first step is choosing and then customizing a template. The imagery and design elements you use will be the first things that catch a viewer’s eye, so you need a design that really pops and expresses the mood of your event. Bright colors and stark contrasts are traits that draw the eyes and keep people interested. Bold fonts are also a helpful attraction, as are pictures or graphics that convey action or excitement. You want your overall design to be striking, yet not overwhelming, so make sure you balance these elements and don’t use any of them excessively.
2. The Language
What type of event are you hosting? Is it a posh gala or a flashy rave? Choose appropriate language that’s tailored to your event and that piques curiosity. You also want to ensure that your words are inviting: Include a bold and specific call to action that makes your audience feel welcome. Phrases such as “come on in” or “please join us” express that you truly want your viewer to be there and help create an incredibly persuasive flier.
3. The Incentive
One helpful detail to include is an incentive. This can be in the form of a discount, a freebie or any other offer that is extended based on seeing your ad. For instance, drop in a line that tells your viewer they can get a $5 discount on admission if they bring your flyer (or if you only promote online, they can mention where they saw your ad, or show you their mobile phone capture). Not only does this get more people in the door, but it also lets you know what type of advertising is yielding the best results!
4. The Dissemination
Once your graphic is complete, it’s time to share it. You can reach wider audiences if you diversify, so spread your post on various social media outlets, and print fliers to either hand out or leave in local businesses. Don’t forget to print off a few large format posters to plaster around town!
The best part about creating your promo through Easil is that you can quickly change the formatting to accommodate any of these sharing methods. Simply use the right-hand tool bar to select which format you want, and the entire graphic automatically adjusts to meet your size requirements. This means you don’t have to hassle with big changes simply to adapt your poster to different sizes.
And there you have it! In four steps, you’ve created a graphic that can be shared through any social media outlet or printed in a variety of sizes to hand out in person. Now you can focus on the minutiae of the party itself, without having to stress about your marketing.
