How to upload your own images
Using your own assets in Easil
Apart from the ready to use assets available from the library, you can also upload your own images into Easil by using the upload function in the sidebar. Simply follow the steps below:
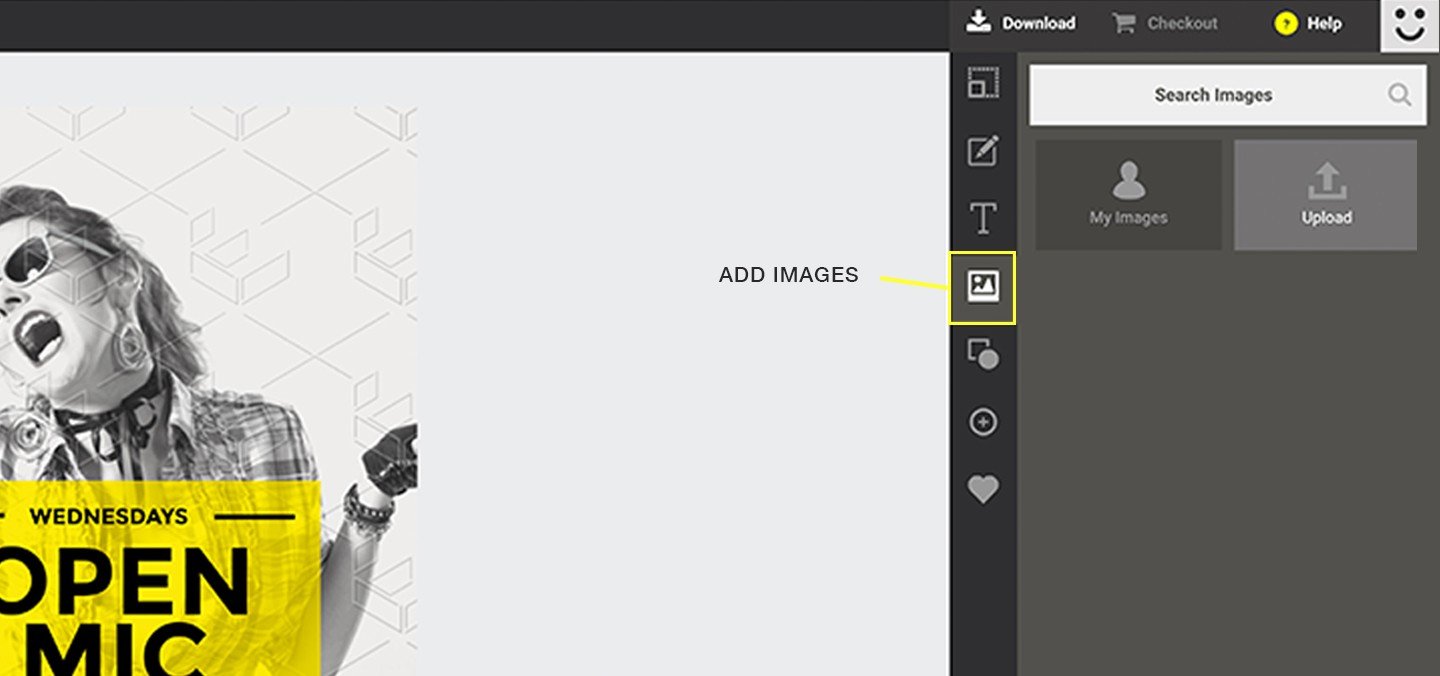
1. Click the “Add Images” button in the sidebar
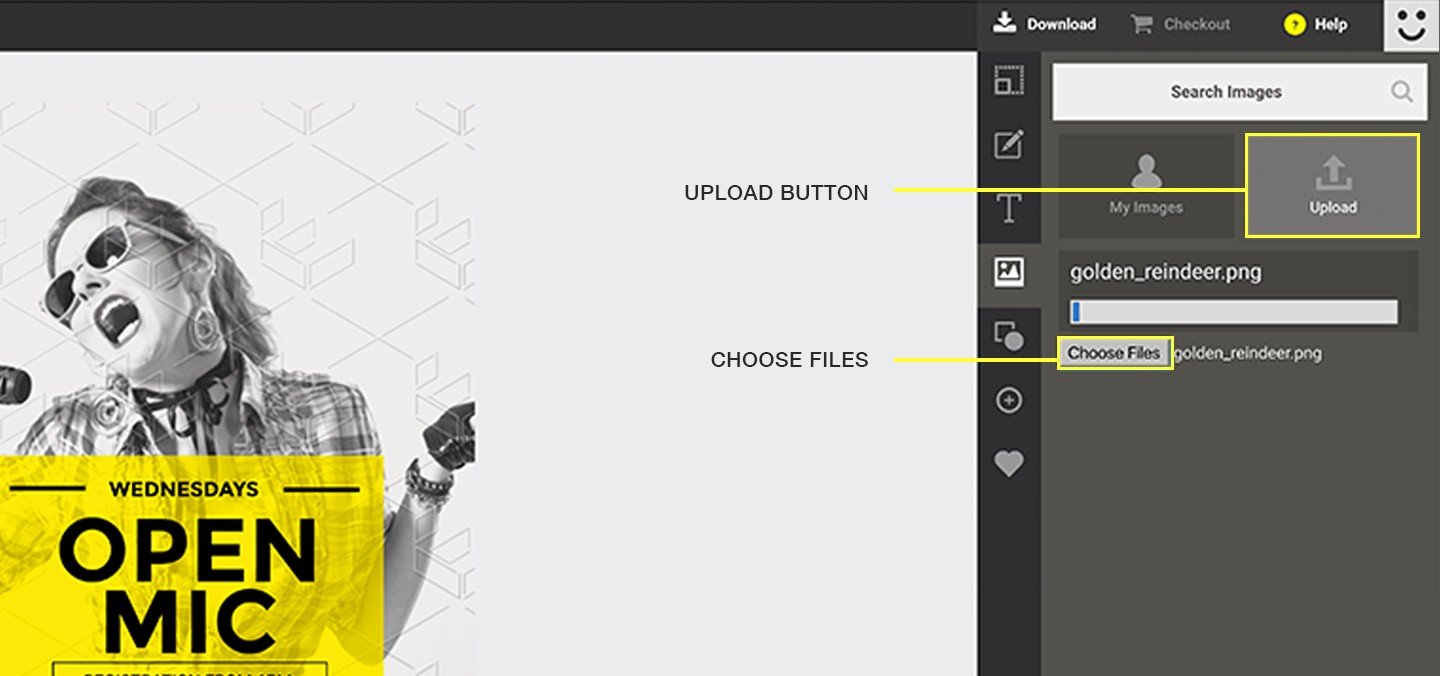
2. With the “Add Images” Sidebar open, click on the “Upload” button
3. Click “Choose Files” and navigate to whichever image you wish to upload
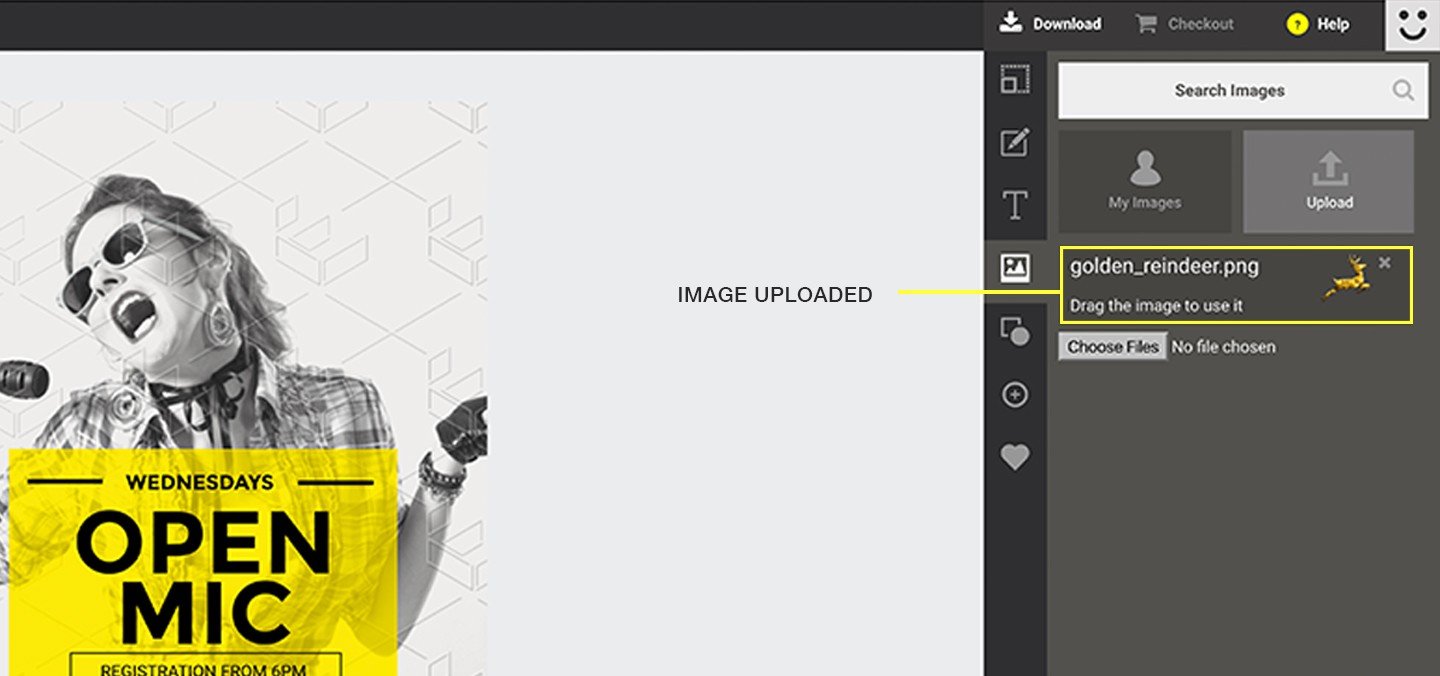
4. After the image has finished uploading, you may drag and drop the thumbnail to place it on the canvas