Want to create awesome animated GIFs that catch attention? In this
And to make it even easier, you can download GIFs, ready to play using our GIF Publishing option in
Ready to check out some creative and awesome animated GIFs? Let’s get stuck in.
Create Awesome Animated GIFs (in minutes)
1. Color changing text animation
Something as simple as changing colors can take you from a simple image to the status of “awesome animated GIF”. Here’s an example of a color-changing text animation to promote a sale:

How to create this animated GIF:
- Typeset your message, using a separate text box for each letter. Ensure that they are all the same font and font size.
- Select all letters in your word, and duplicate.
- Move the duplicated letters offset slightly from the original layers. We moved ours up to the top and to the left by a few pixels. This creates the shadow effect that sits behind the
colored letters. - Apply a different
color to each of the letters on the words. - Duplicate the page, allowing one page for each character in the words. In this case, we had 5 pages in total, one each for
letter of S, A, L, E, plus a page with ‘blank’ letters thatshows the white “background” letters only. - Work through the pages, removing letters so that they build up throughout the animation.
- Download the file as an animated GIF. We chose
‘ Fast’ speed for this example.
Hot tip: If you want to use on all social networks, you may need to convert the file to a video format as GIFs are currently not supported on all channels. We recommend EzGif, a free online conversion tool. Remember to make your video 3 seconds or longer to work on Instagram.
2. Pulsing Graphic Animation
Pulsing graphics make for a cute animation effect that works well with solid graphic elements such as shapes, or cartoon-ish graphics. Let’s look at how we used pulsing animated graphics to transform this design:

How to create this animated GIF:
- Add graphic elements to your design.
- Duplicate each element you would like to pulse.
- Enlarge the size of 1/2 of the elements, using the original size and positioning as a guide to keep the centre of your new sized element the same.
- Reduce the size of the other 1/2 of the elements, also ensuring the centre aligns with each element, in comparison to the original size.
- Duplicate the page.
- On page 1, remove one of each type of element, making sure you’re alternating with large and small sizes remaining.
- Repeat the process with the second page, keeping the opposite sizes.
- Download the GIF at medium or fast speed.
Here’s an example of two of the pages and how your finished elements should look before publishing the animation:
Hot tip: Use the ‘hide’ function in layers instead of deleting if you’re unsure which layers need to be deleted. It works in the same way and you can ‘show’ the layers again if you need to adjust.
3. Super Shadowed Text Animation
We’ve used a cheeky “take” on drop shadows in this example, taking them to the extreme with “Super Shadowed Text”. It’s playful and fun and gives a retro effect to the design that catches the eye:
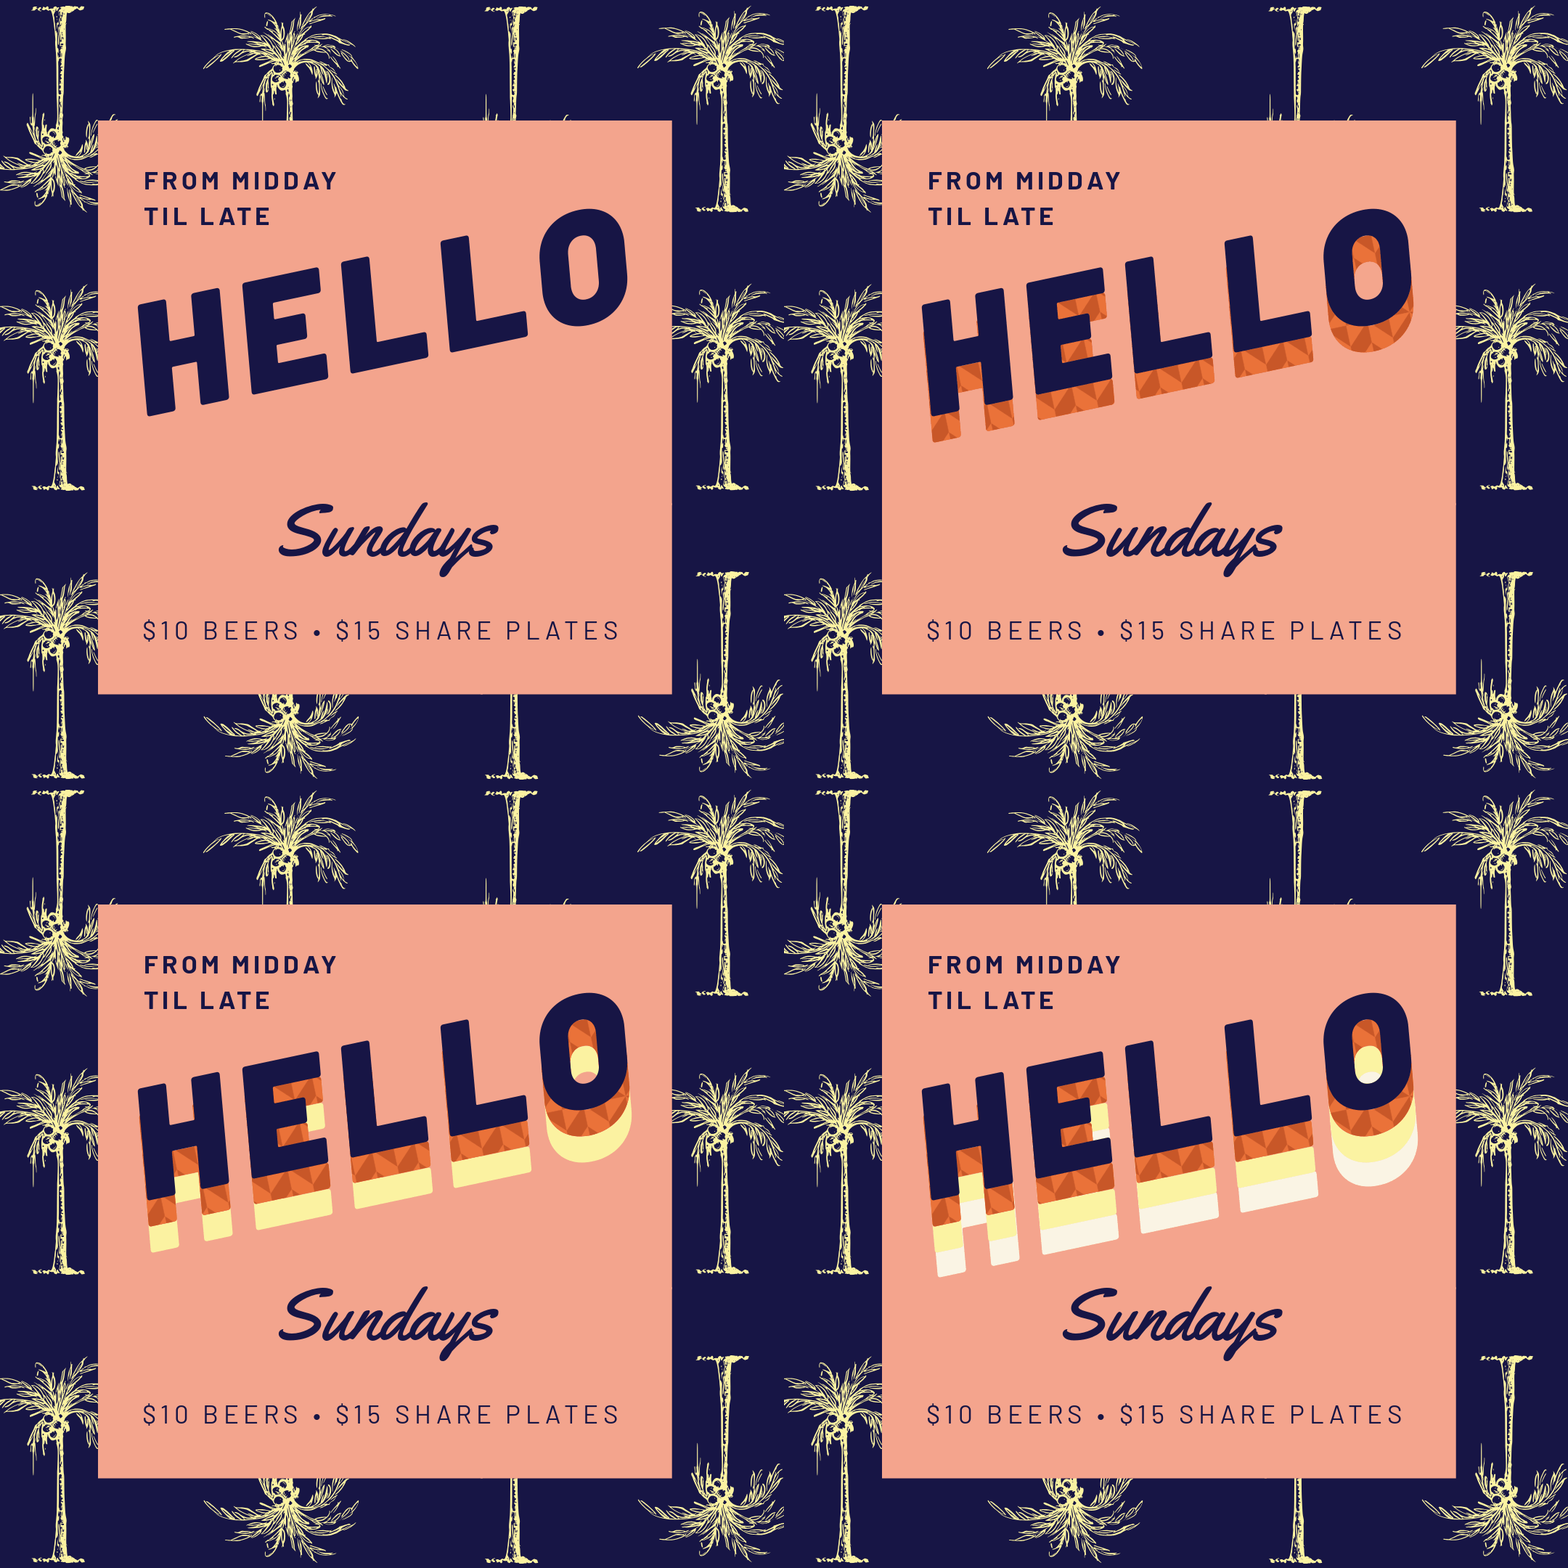
Before we run through each step, here’s how we laid out all the pages with the shadowed text:
How to create this animated GIF:
- Typeset your text using a bold font. We recommend using a large word, or numbers only, for this type of GIF to be effective.
- Duplicate the page.
- Select and duplicate the text layer, and add a text mask to it. We used a diagonal pattern to fill the text.
- Send the masked text layer backwards, behind the original, non-masked text layer. Ensure it’s offset to the right and below the layer above.
- Repeat the process, alternating between a contrasting shadow
color , masked text layers, and your original typecolor , with each layer offset to the same distance on a new page. - Download as a GIF file, at medium or fast speed. We used the Medium download speed here.
4. Changing shapes animation
Perhaps one of our simplest examples (there’s only 3 slides or screens to create), this Changing Shapes animation is easy and stands out:
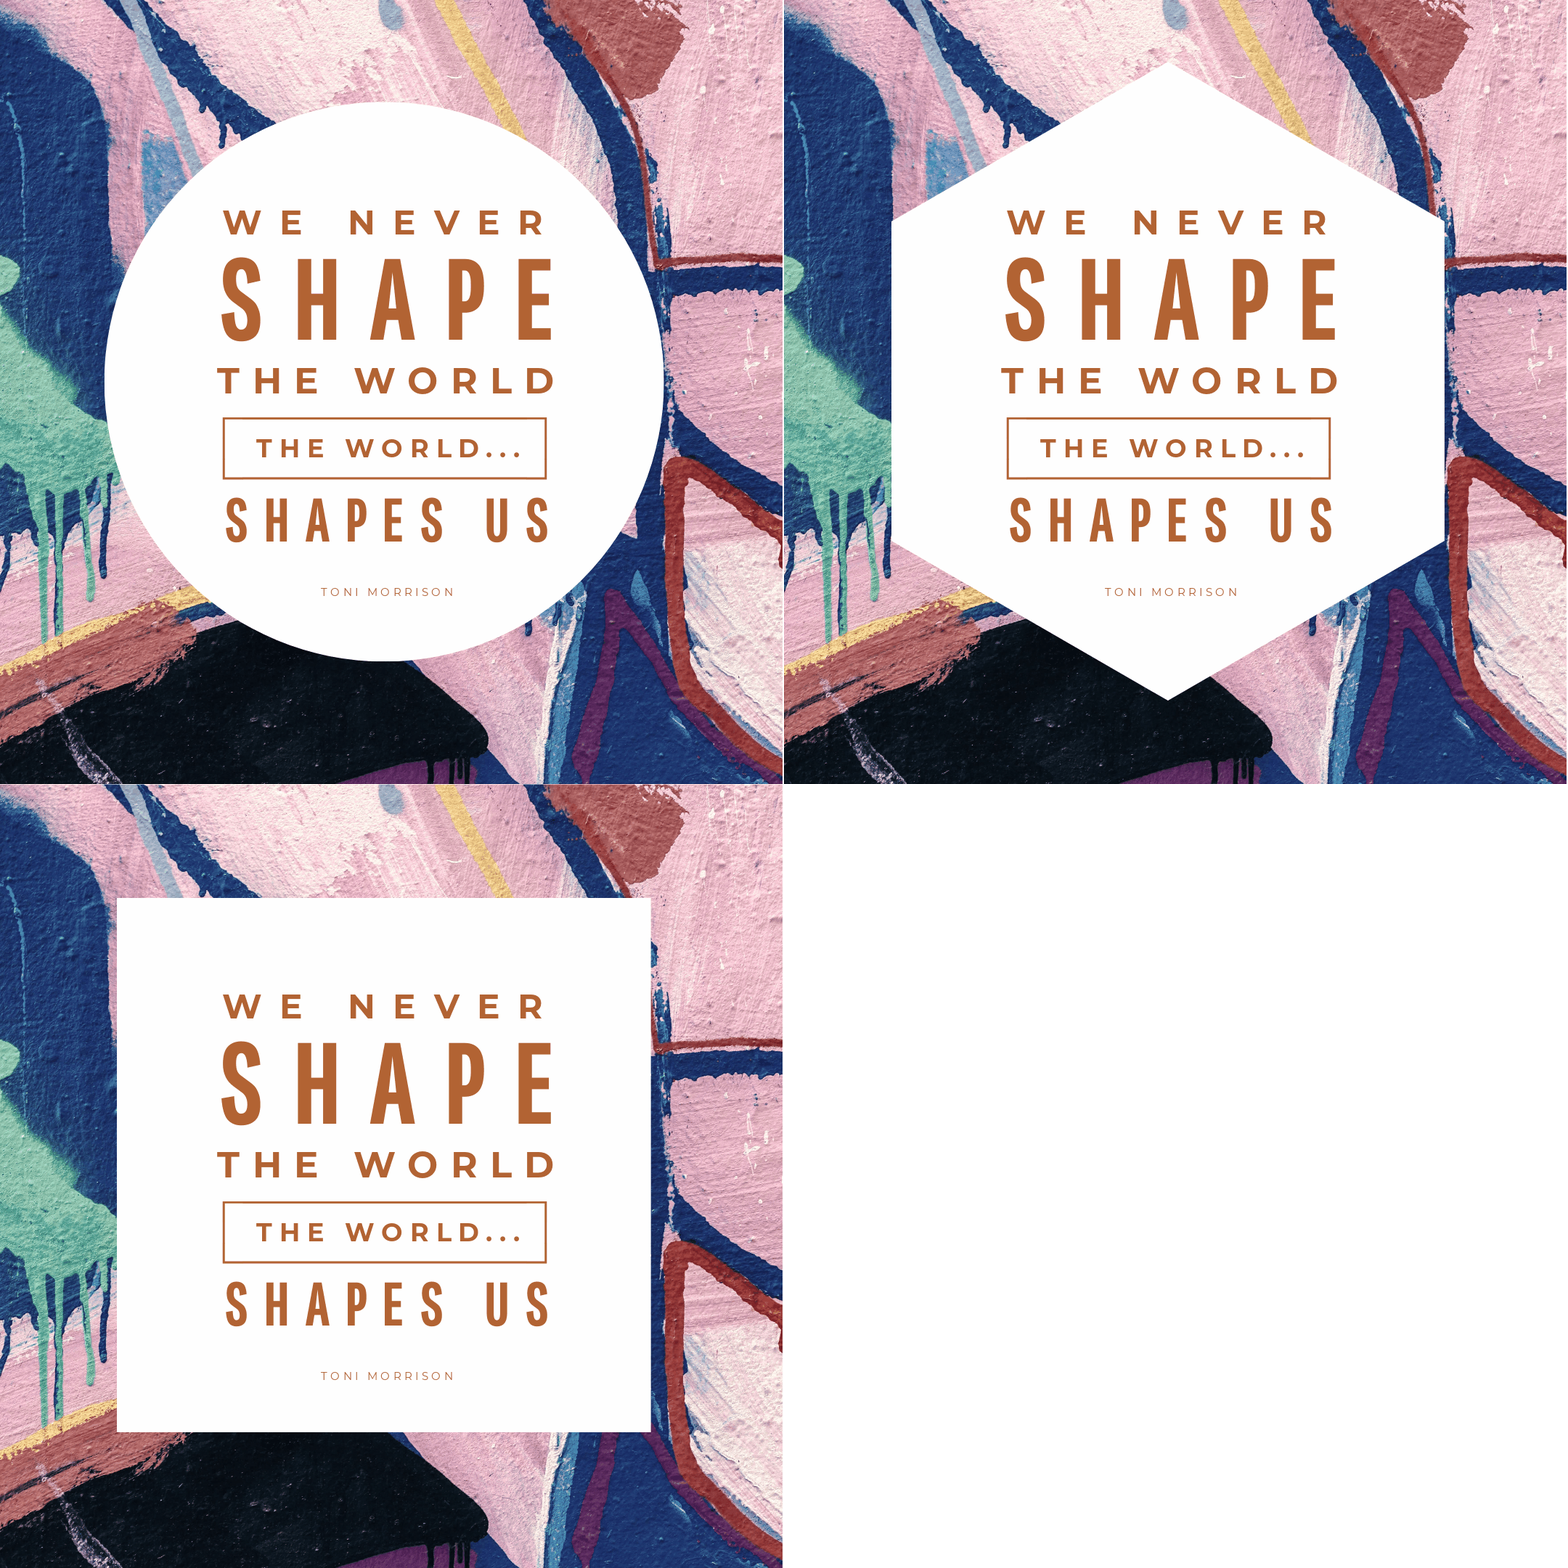
Before we dive into the detailed steps for creating this example, here’s a visual of the pages laid out in order:
How to create this animated GIF:
- Place a large circle shape behind your text.
- Add a square shape to your design, in the same
color . Stretch it to the approximate, or exact if possible, size of the circle element. - Add a third shape, such as a hexagon, also changing to the same size and shape of the existing elements.
- Duplicate the page twice.
- Edit each page, deleting the shape elements you don’t want from each page. This will leave only one of each unique shape on each page so it alternates between circle, square and hexagon. Add more if you’re feeling creative!
- Download the GIF at medium to fast speed. We used the Medium download speed here.
5. The line Wiggle animation
Ready to get Wiggly with it? This Line Wiggle animation is perfect for creating awesome animated GIFs where you just want to add a little movement:
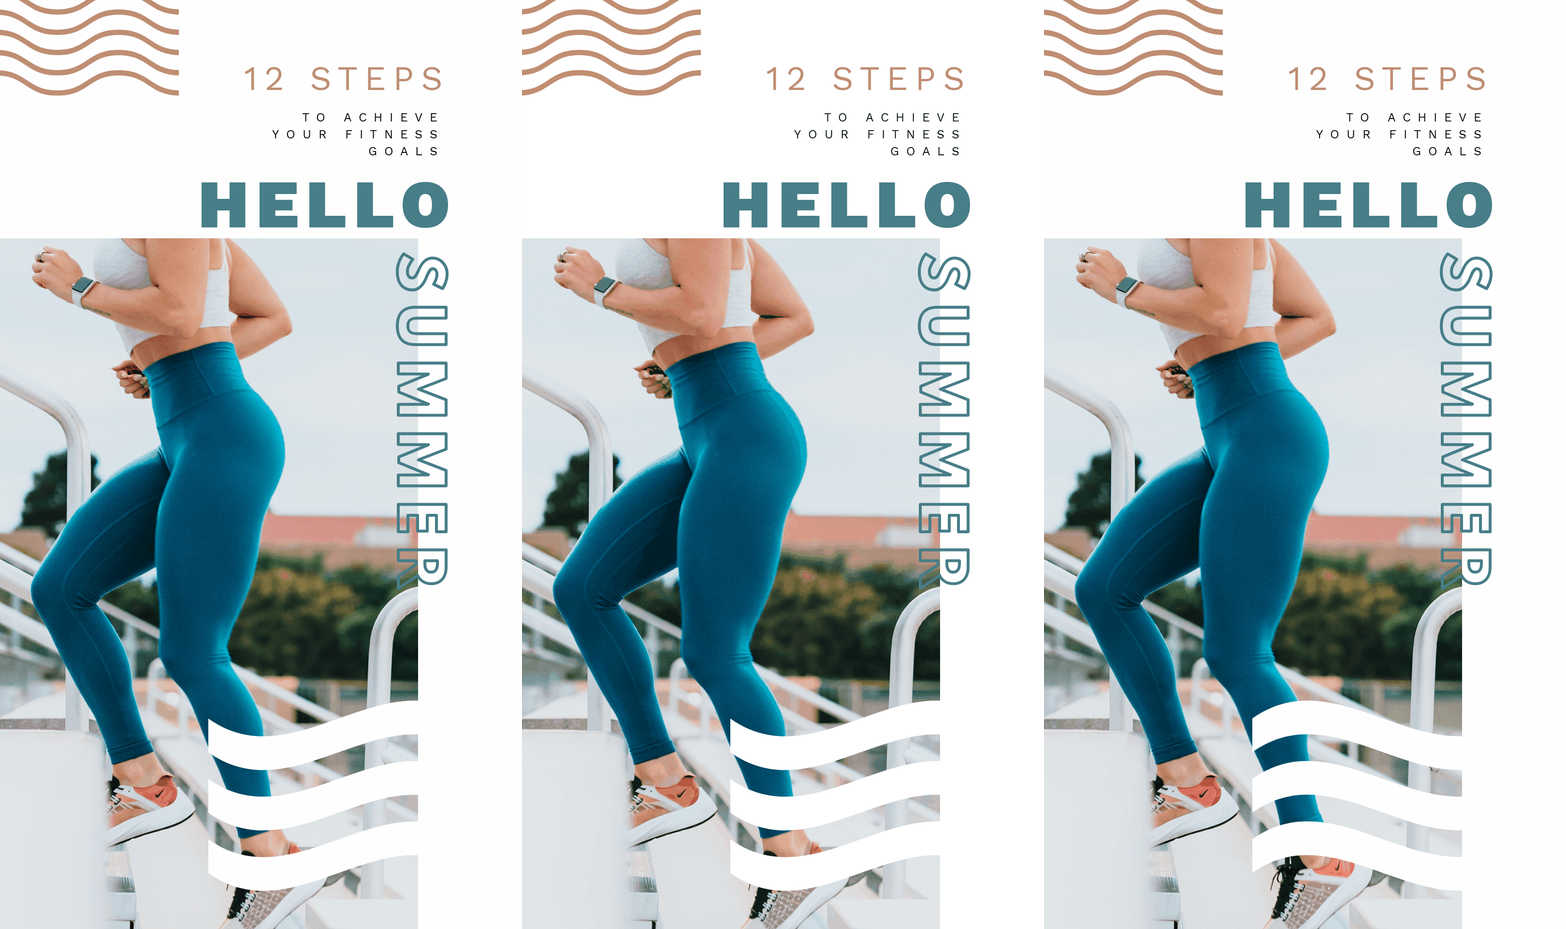
This effect works best with zig-zag or wiggly/wavy line elements. Try searching for “
How to create this animated GIF:
- Add your line element to your design, and stretch it across your design to position under a word you want to highlight.
- Duplicate the page.
- Select the line graphic, and use the flip tool to change the direction of the line.
In our example, we flipped the smaller top wave pattern on the graphic on the second page, and the larger wave patten overlaying the image, on the third page. This created subtle movement throughout the whole design, without being overbearing!
6. The loading bar animation
No doubt you’ve seen plenty of “loading” jokes and memes on social media. We can never get enough of them (especially when it comes to coffee). Here’s an example:
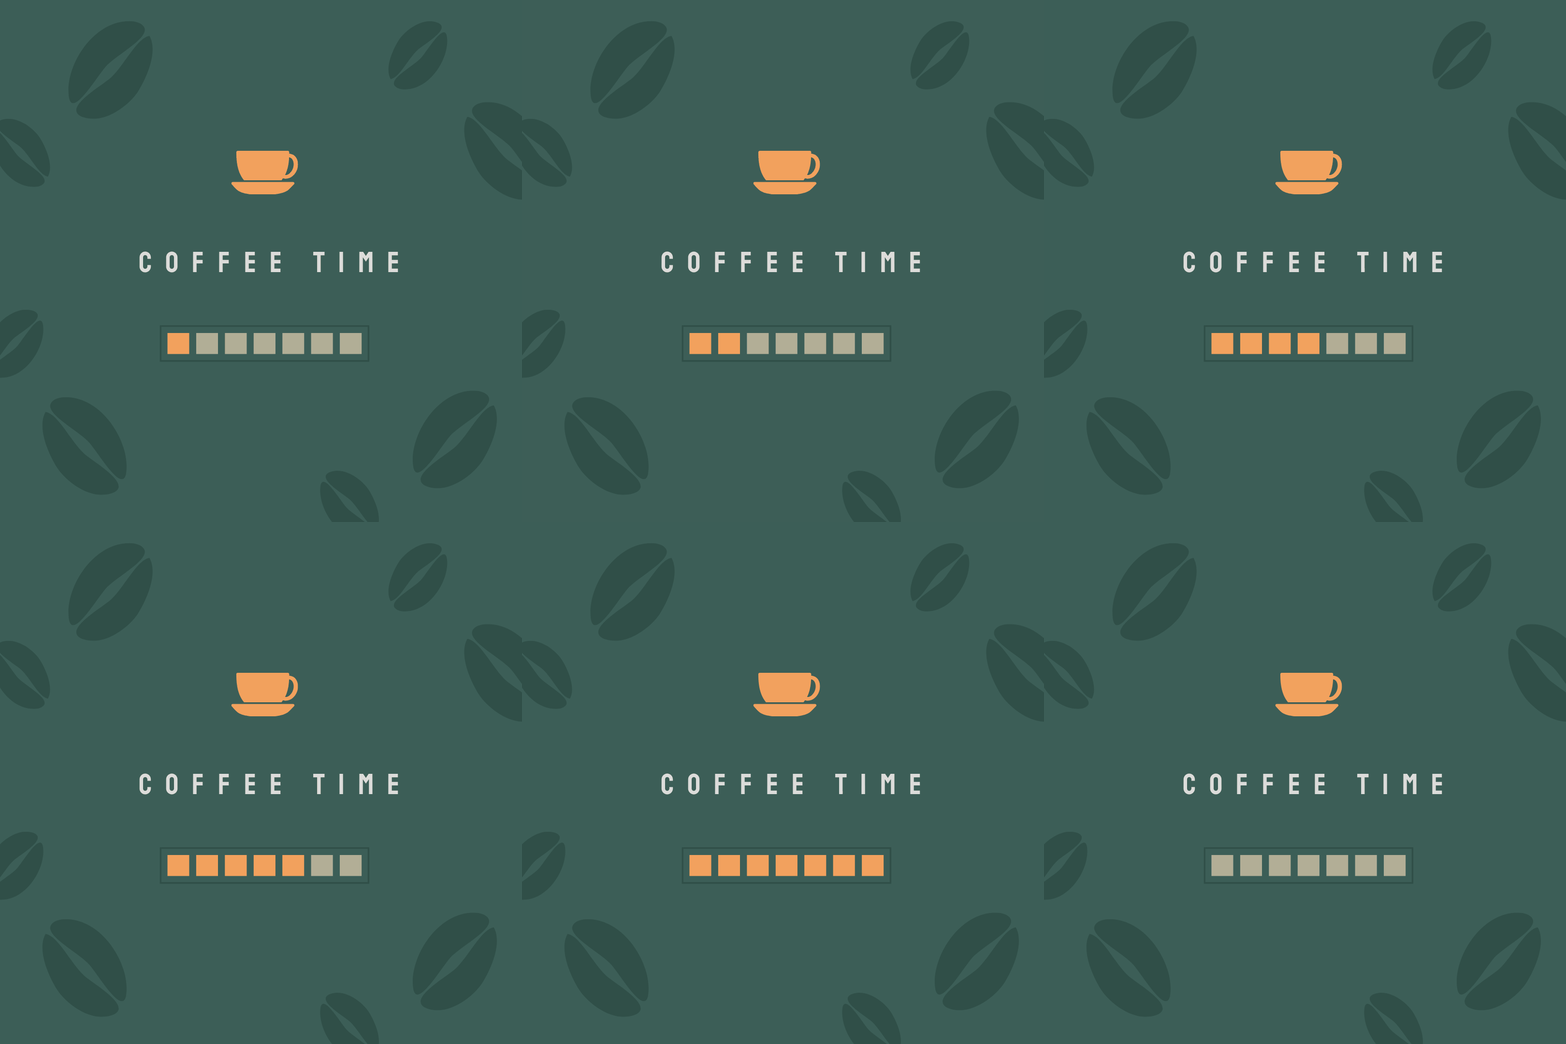
You can get super creative with Loading Bar animations. Think “Monday Loading” or “Coffee Loading” or even “Friday Loading”. Make light of Hump Day or Coffee Time with these cheeky animations. Or maybe just post a GIF of “internet loading” and ask your audience about how much they love buffering!
How to create this animated GIF:
- Search for ‘square’ in the shapes tab, and add it multiple times.
- Edit each of the elements in the loading bar to add the
color you want. Fill out the entire bar so it’s “fully loaded” and lit up. - Add an outlined square element to place around your entire design. For example, search on our Shapes Tab for “box outline” to find a thin square border to wrap around your loading bars.
- Copy the page multiple times. We copied the page enough times to account for all of the elements lighting up in the loading bar.
- Then work backwards removing the “highlights” or loading bar elements so that your design builds up page by page to be “fully loaded”.
Hot tip: Move the loading bar forwards and slightly backwards to create some interest!
7. Chat bubble animation
A super popular style of graphic, a chat bubble animation is a great way to create something unique and eye-catching on social feeds. You can also use it in emails and on blog posts to engage your readers.
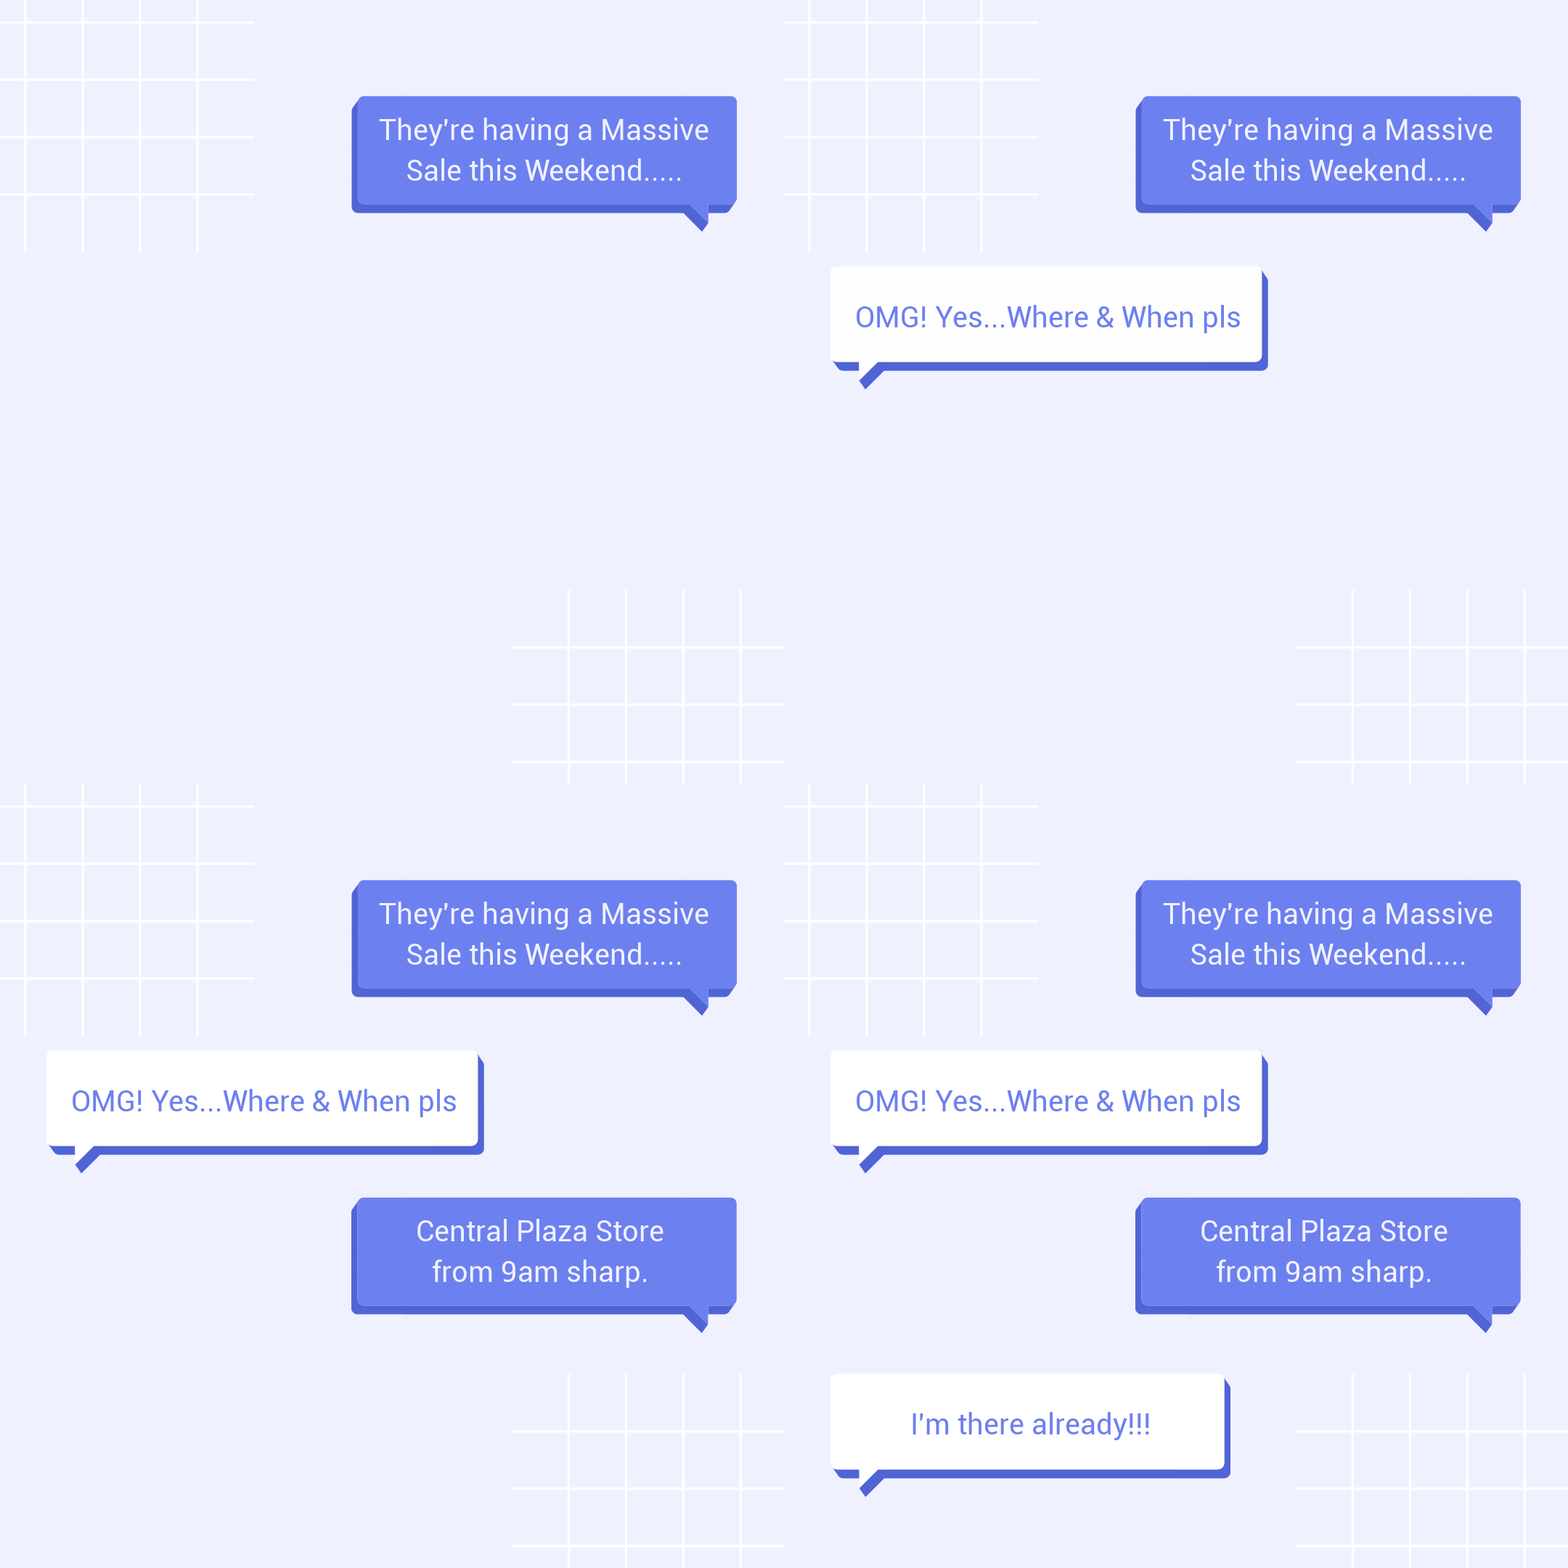
In this
How to create this animated GIF:
- Search for “speech bubble” in the
Easil Shapes Tab. Choose the shape that you want to use and add it to your first image. - Change the background
color and textcolor to your preferredcolors . - Use the Text Effects tool to add a drop shadow effect.
- Duplicate the speech bubble with drop shadow and position a second version further down the design.
- Repeat the process using a second speech bubble. Change the
colors and use the flip tool to reverse the direction to indicate a second person talking. - Duplicate the second speech bubble and position all 4 speech bubbles on the page, as in in the example above.
- Edit the text as required to create your “conversation”.
- Duplicate the page 3 times to create 4 screens.
- Remove elements from the 3 earlier screens to build the “chat”.
Hot tip: You can also add images into speech bubbles! Check out the Shape Mask category in our graphic selection, and these cute frame type images where you can drag and drop photos:

Bonus Hot Tip!
Did you know that you can use
This means that you can choose to “lock down” sections of your design, element by element. This includes layers, elements, fonts,
Excited about these Awesome Animated GIFs?
We hope that this post has inspired you to create some awesome animated GIFs of your own. It’s easy now that you know some of the creative ways you can use them!
If you need more ideas or instructions you can check out this post to see how we too one template and turned it into 10 different animated GIFs.
SHOW US YOUR EASIL GIFS IN THE WILD!
We’d love to see what you create. Be sure to tag us with @teameasil and use the hashtag #MadeInEasil so we can see them and re-share them!
OVER TO YOU
Are you loving these new ideas for creating animated GIFs?
