Whether you’re just getting started, or have been using Easil to design for a while, it’s always good to know a few helpful tips and tricks that will assist with making your designs look professional, and improve your productivity.
This following Tips and Tricks Tutorial is part of our in-Easil lesson series, geared towards mastering basic skills, right through to productivity hacks!
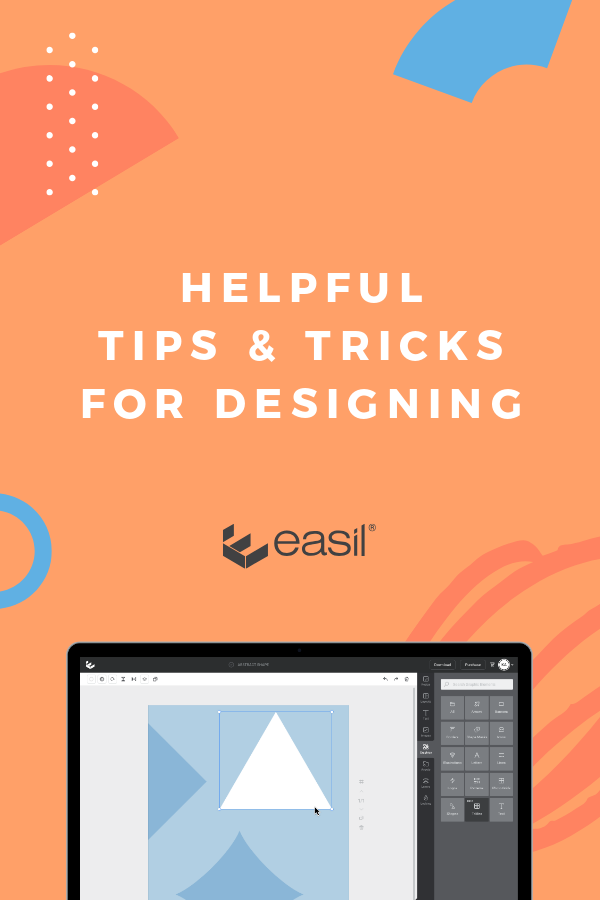
STEP-THROUGH OUR IN-EASIL TUTORIAL TO LEARN THESE DIY DESIGN SKILLS
The following 8 tips and tricks are all contained in our in-Easil lesson. Click through to interact and learn in the Application.
- How to move and align graphics;
- How to move a graphic from one page to another within your document;
- How to increase the size of a graphic to match the size of another;
- How to lock the position of an element;
- How to change the size of multiple graphics at one time;
- How to change the layer order of a graphic;
- How to edit a text box by typing in layers; and
- How to duplicate a page within your design.
HOW TO MOVE AND ALIGN GRAPHICS
Keeping elements aligned with each other within your designs, assists with your file looking neat and tidy, and more professional.
- Select the Graphic or Element that you would like to move by clicking on it.
- Whilst still holding the graphic selected, drag it to the new position, and then release the click.
- If you are aligning the graphic to another one in the document, you will notice that the graphic you are dragging will ‘snap’ into alignment when it gets close to the correct position.
Hot tip: Easil’s snap to grid functionality can be toggled on and off, depending on your requirements. Just click on the # icon to the right side of your page to turn it off, and move your elements around your page freely.
HOW TO MOVE A GRAPHIC OR ELEMENT TO ANOTHER PAGE IN YOUR DOCUMENT
You can move a graphic from one page to another by dragging it over the top or bottom edges of the current page, and onto the next page.
- Click and hold the graphic you would like to select with your mouse.
- While you have it selected, click and drag down across onto your new page.
- Once on the new page, you can drag into place to align with other objects, using the pink snap lines to confirm the precise alignment.
HOW TO INCREASE THE SIZE OF A GRAPHIC TO MATCH THE SIZE OF ANOTHER
Consistency in the size of graphics used within your document is important for creating a professional look. For example, if you were showing a range of social media handles listed, creating icons of identical size and alignment will look best.
- Place the graphic you’d like to match either beside the graphic you’d like to replicate, or directly above it.
- Use the corner handles on the top graphic to extend out (or in) to enlarge or reduce the size.
- Release the handles when the pink grid lines show the size has been matched.
- Move your resized graphic into its new position.
Hot tip: You can also use the Position tool located within the Actionbar to provide you with the size of the graphic. Note down, (or copy) the width or height of the graphic size you’d like to replicate, and paste it into the size of the new graphic to match the size.
HOW TO LOCK THE POSITION OF AN ELEMENT
- Select the graphic or element you would like to lock by clicking on it.
- Click on the ‘Locking’ tab in the Right Sidebar.
- Then click on the small lock icon next to ‘Size and Position’, and the graphic will be unable to be accidentally moved.
Learn more about Locking & Restrictions in this lesson.
HOW TO CHANGE THE SIZE OF MULTIPLE GRAPHIC ELEMENTS AT ONE TIME
- Select the graphics you will be changing the size of, by clicking on one and then pressing ‘shift’ to add another graphic or element to your selection.
- Once you have all of the graphic selected, use one of the corner handles to increase or decrease the size of the whole group of objects by pulling the handle either inwards, or outward.
HOW TO CHANGE THE LAYER ORDER OF YOUR GRAPHICS
There are a couple of ways you can change the layer order of graphics within your document. The first is by using the Position button:
- Select the graphic or element to be re-ordered by clicking on it.
- Whilst it’s selected, click on the Position icon in the Actionbar, and choose from the options in the dropdown.
In the video below, we want to move a shape directly behind another, so we drag it above the shape, and then use the ‘Send to Back’ function to place in behind:
The second way to re-arrange the order of elements is to use the Layers tab:
- Click on the Layers tab in the Right Sidebar.
- Locate the page you are working on, and then the layer you would like to re-arrange.
- Click on the layer, hold, and drag it straight up or down within the layer stack.
Hot tip: You can also use the Layers tab on the Sidebar to move an element from a current page to the exact same position on another page! Simply click and drag the layer directly up or down within the Layers panel, and onto the new page within the Sidebar controls.
EDIT YOUR TEXT BY USING LAYERS
In some design documents, your text box could be obstructed by another graphic element, eg, it might be on a lower layer.
- Locate the layer to edit in the Layers tab in the right Sidebar.
- Double click on the name of the Layer to enter editing mode.
- Type in the new text, and press enter. The new text will apply to the design canvas upon pressing enter.
HOW TO DUPLICATE A PAGE WITHIN YOUR DESIGN DOCUMENT
Duplicating an existing page is the easiest way to ensure your layout is consistent throughout your multi-page documents.
- Locate the page you would like to duplicate.
- Click on the ‘Copy’ icon directly next to the page, on the right.
- An exact copy of the current page will be made underneath the page.
- Use the page arrows to move the pages up or down within the document.
OVER TO YOU
Are there any other design skills you would like to master in Easil? Send us a DM or email and let us know!