
If you’ve ever needed to share designs across teams, but are worried that other non-designers are not going to be able to keep your brand and designs looking on-point, this is where Easil’s team and locking features come into play!
Create designs with fine-grained permissions over each of the elements in your design, and then share with your team, knowing that all your hard work is going to stay intact.
GETTING STARTED
Before we get into setting up document templates to share; we first need to set up our team.
When you first sign up for Easil, you are automatically placed into your own personal team account. The subscription you apply to this account will be applicable to you, and any sub-teams and members you add.
To create a new Team, click on the ‘Team’ tab in the top navigation bar.
At the top right of the Teams page, you have two options within the blue button, for the structure of your business or project – Team, or Sub-Team.
WHAT’S THE DIFFERENCE BETWEEN A NEW TEAM AND A NEW SUB-TEAM?
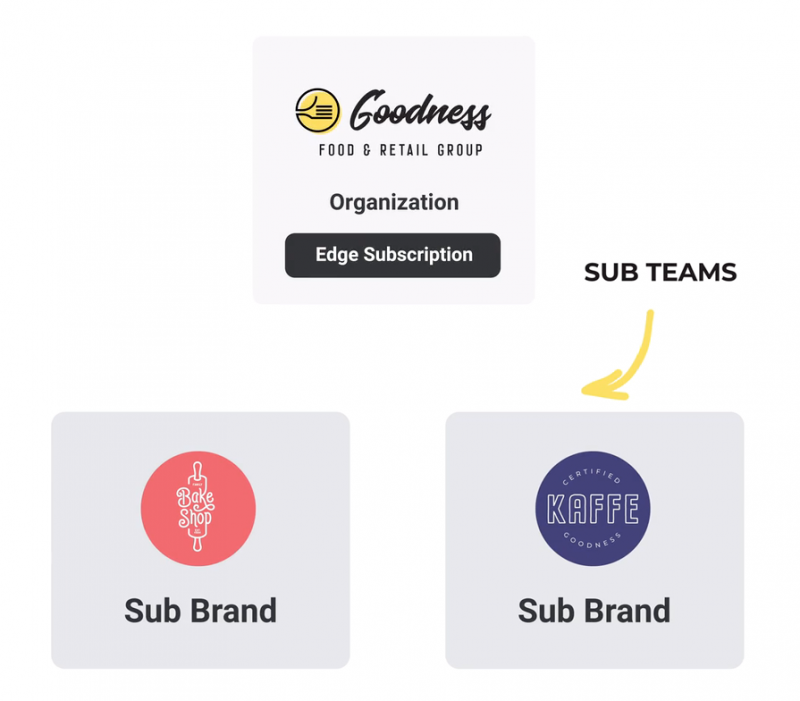
A ‘Team’ is a top-level team that you can create. Think of it as an Organization. Select a Top-level team for a larger business or organization that will require ownership of the Easil account and the intellectual property created within, and flexibility with adding levels of sub-teams/different brands underneath.
Key features of top-level teams:
- Team members added to the top-level team (or Organisation), are able to access all teams and sub-teams created below them.
- The top-level team is responsible for the billing of all teams and sub-team accounts below.
- The subscription plan set for the top-level team follows through to all team members and sub-teams created below. For example, if the Top Level team is set to a Plus subscription, all members added at each level will be allocated a Plus subscription too.
- Top-level team Designers can create templates to share with teams below, however, teams below cannot share their templates upwards within the hierarchy.
- Brand Managers at the Top Level can manage Brand Kits on every sub-team level, as well as manage Approval requests.
Sub-team/s are nested underneath your top-level team and are perfect for sub-divisions of your organization, projects that require different team access or to neatly organize brands.
Key features of sub-teams:
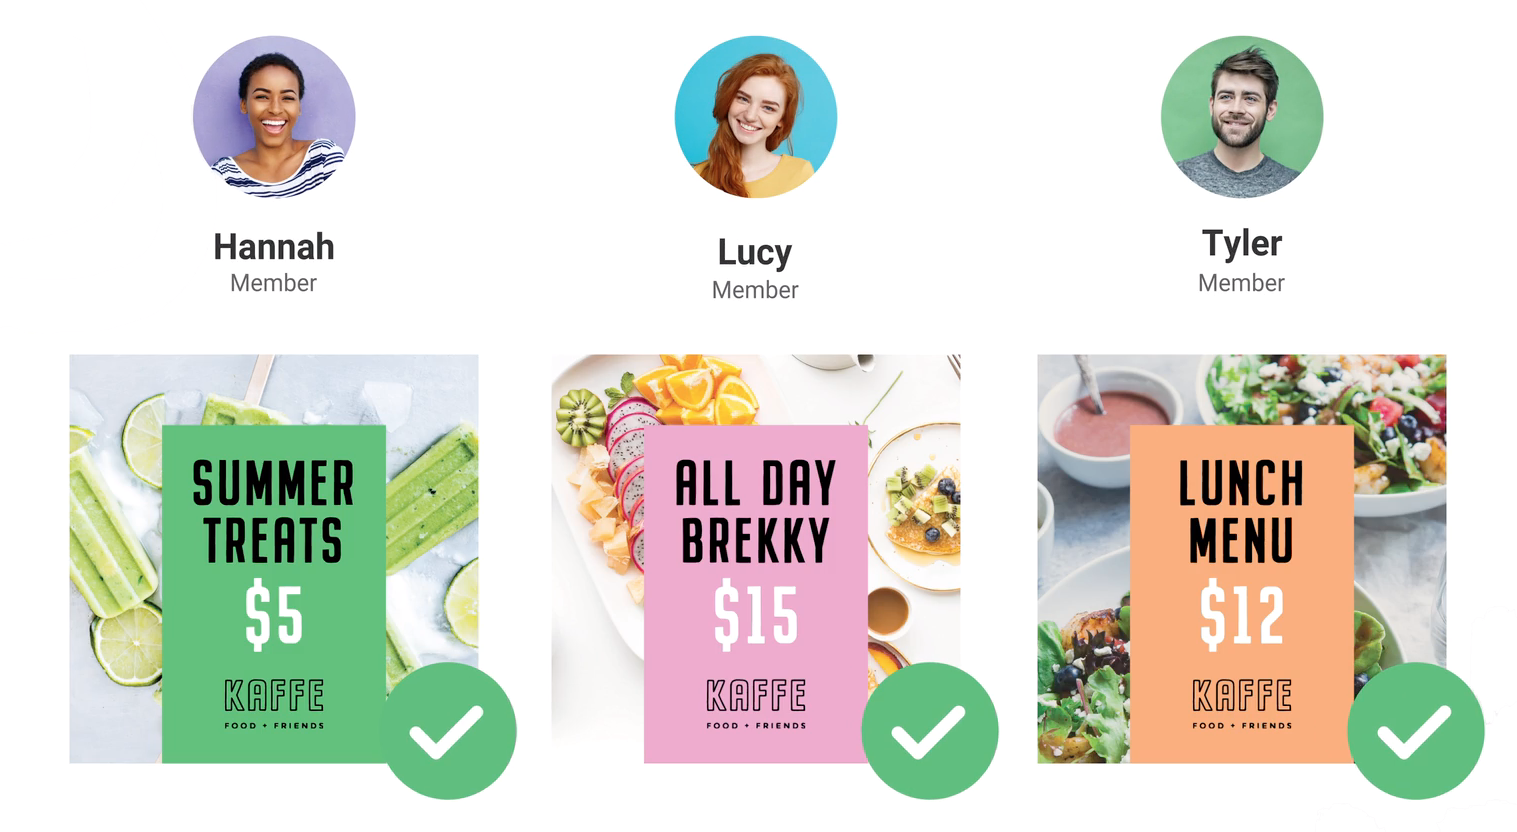
- Each sub-team has its own Brand Kit – add your team logos, colors, fonts and imagery, that will only be shared and available to people that can access that team.
- Each sub-team can assign it’s own team members and member roles. However, these team members are billed to the Top-Level Team/Organisation above, so you should ensure you only allow ‘Admin’ access to those that will be responsible in their use of this permission.
- Team members within a sub-team cannot access team content from a team level above their current invitation.
Hot tip: Once you have set up more than one team or sub-team, you can choose which you would like to be your default team – the one you automatically log into – by accessing your personal profile settings.
TEMPLATES TAB – EASIL TEMPLATES VS TEAM TEMPLATES
The next key area for setting up your team/s is the Templates tab. By clicking on the top navigation bar ‘Templates’ you will see the toggle between Easil and Team templates.
Toggle on the option you’d like to view to view by clicking on the name. By default, the ‘Team’ Templates tab will be empty, until you start designing and converting designs into Team Templates. The ‘Easil’ tab contains pre-designed templates that you can use as a basis for your own Team templates, if you prefer.
We recommend that you start creating your designs in the top-level team (Organisation), as you’ll have the flexibility to share the designs down through your sub-teams if required, keeping in mind that you can’t share designs ‘up’ the hierarchy, and only down.
INVITING TEAM MEMBERS TO YOUR ACCOUNTS
You can invite team members to join your Organisation (eg the top level team), and automatically access all sub-teams underneath, or you can invite team members directly into those sub-teams.
In a larger Organisation where you may have a Brand Manager and Graphic Designers that are solely responsible for creating for their Brand, it usually makes sense to add those team members at the sub-team level.
Using the team switcher, select the team level you’d like to invite from, and then click on the ‘Team’ tab. Complete the details for each team member and assign the relevant roles. Keep in mind that roles are cumulative, meaning you can select as many permissions as you require for each member. Read more about roles here.
OVER TO YOU
Are you working with a small team, perhaps with a VA helping you with your graphics, or a larger team that needs to streamline graphics production?
If you need any help setting up Teams or Organisations, don’t hesitate to contact our support team by email, or by hitting the (?) button within Easil. 🙂


