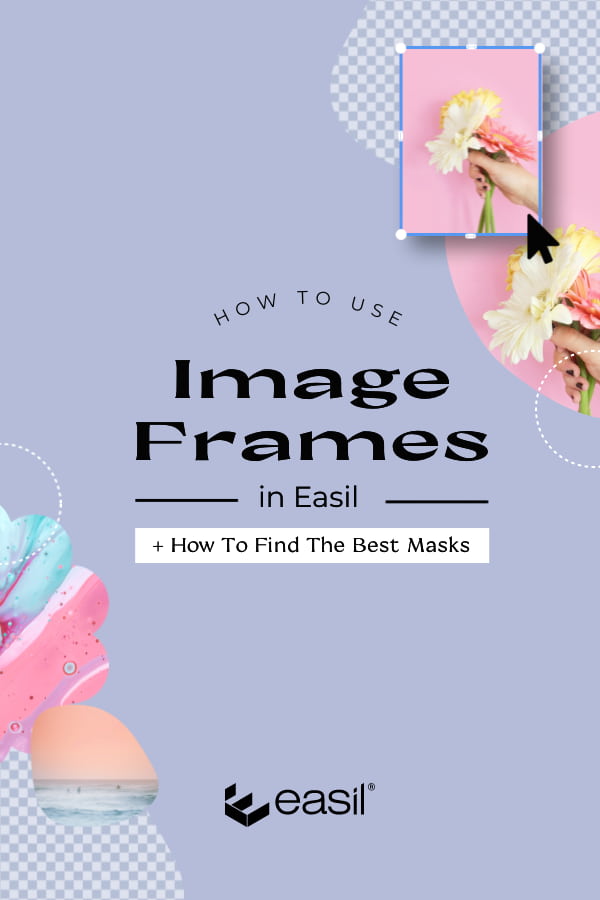
Often when designing a social post, marketing piece, or document, you’ll want to place a photo in a shape such as a circle, so that its appearance is not just a boring old square or rectangle. One of the most popular and useful tools in Easil is the built-in image frames feature, or what we call, Shape Masks.
Easil’s shape masks allow you to drag any photographic image [or short-form video] into your frame, and the area of the photo that extends outside of that area will be masked, and thus, not visible in your design. Here are some examples of three types of shape masks in use (Flower shaped, Arch shaped, and Circular):

GETTING STARTED WITH USING SHAPE MASKS IN EASIL
Our full range of shape masks are available to all Easil users, free of charge – and on every plan! Here’s how you can use them in your own designs:
1. Search for a Shape Mask
With your design open in the Easil editor, head over to the right-sidebar, and click on the Graphics tab. Then select Shape Masks, from the second row. Scroll through the shapes, find one you like, click on it to add it to your design, or drag it to put it into place.
When viewing them in the sidebar, the area marked with the grid pattern, is the area that will contain your image. Once you place it on your design, it will appear as transparent green color. This green color, nor the grid, will be visible once you’ve worked through the next steps!
2. Position the Shape Mask on your Design
Click on the shape mask once it’s on the design, and use the corner handles to expand it to make it larger, or drag inwards to make it smaller. We recommend keeping it larger to start off with so that it’s easier to place your image into. You can always scale down the size of the mask afterward.
3. Drag and drop the image into the Shape Mask
To locate the image you want to add to your shape mask, click on the Images tab on the right sidebar. Locate your image from your My Images dropdown, or choose one from our image library.
Click on the image in the sidebar, and with a single drag, click and move the image onto the design canvas, and over the shape mask you have placed in the earlier step. You will feel the image ‘snap’ into the Shape Mask.
Alternatively, if you’d like to add a video to your shape mask, click on the Video tab in the sidebar, upload your short video (up to 60 seconds in MP4 format), and add that to your shape mask in the same manner!
4. Reposition the image within the mask
To edit the positioning or size of the image, double-click on the mask area. Use the control handles in the corner to extend the image size, and click and hold the image to reposition which part of the image will be visible through the shape.
Keep in mind, you cannot resize the image smaller than the mask itself. This means that images that are already cropped in tightly may not work ideally. It’s best to upload your images un-cropped into Easil so that you’ve always got the additional image space to work with.
5. Add Filters, re-arrange the order & More!
Once you’re happy with the position of your photograph within the mask, you can treat the mask in almost all of the same ways that you would with a regular graphic shape!
Click on the shape mask element, and on the top Actionbar you’ll find options for Adjusting Transparency, Rotation, Flipping, Changing the Order, Adding a Link (for PDF downloads only), and Duplicating the element.
If you double click on the element, you’ll also be able to flip the image within your shape mask, apply Filters, and access the crop tool.
In addition, you can also apply outlines, and shadows to your shape masks by using various settings within the Outline tool:
THE TOP RATED IMAGE FRAMES IN EASIL
We’re constantly adding graphics and templates to Easil. If you find anything missing or not yet available, send us a message and we’ll see if our creative team can add any missing masks to our range!
That being said, let’s jump into our currently most popular shape masks, and how you can find them to use in your own designs!
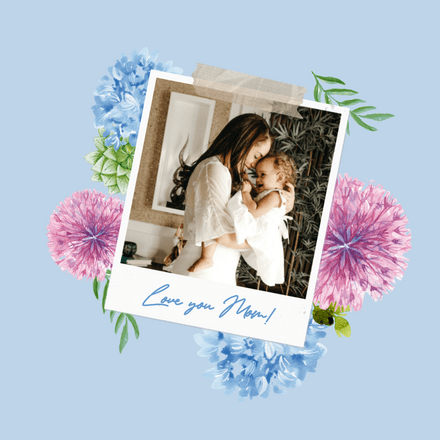
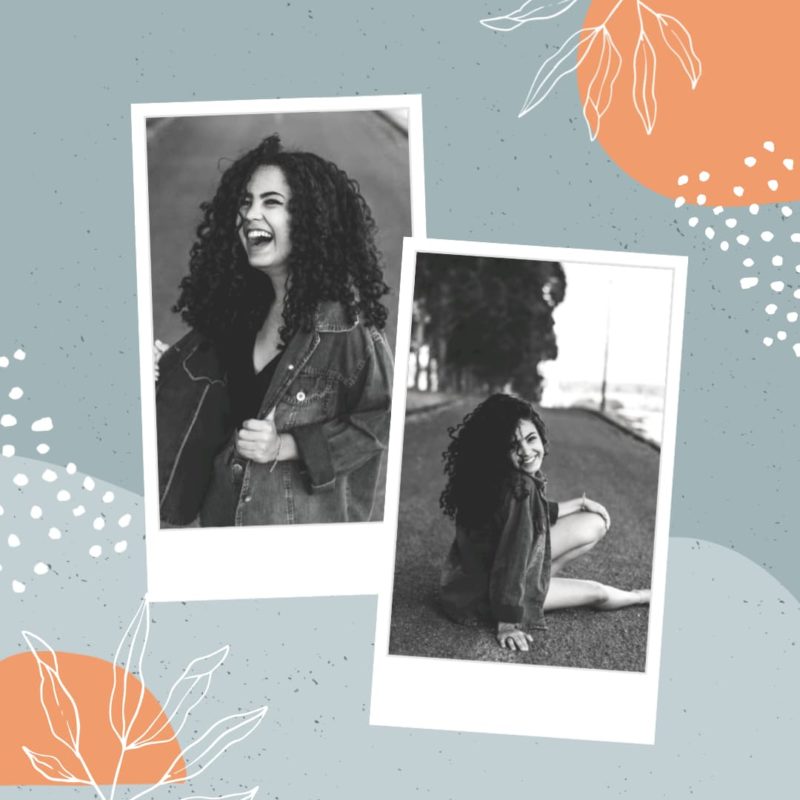
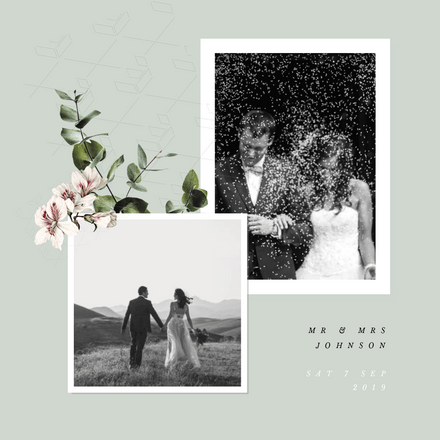
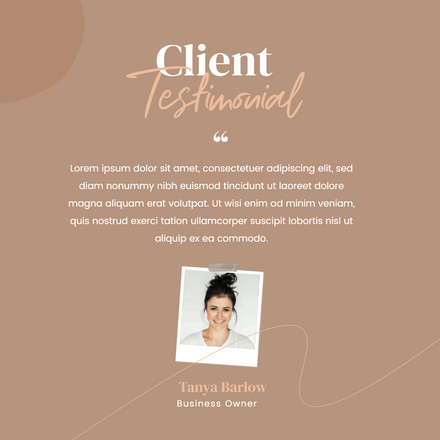
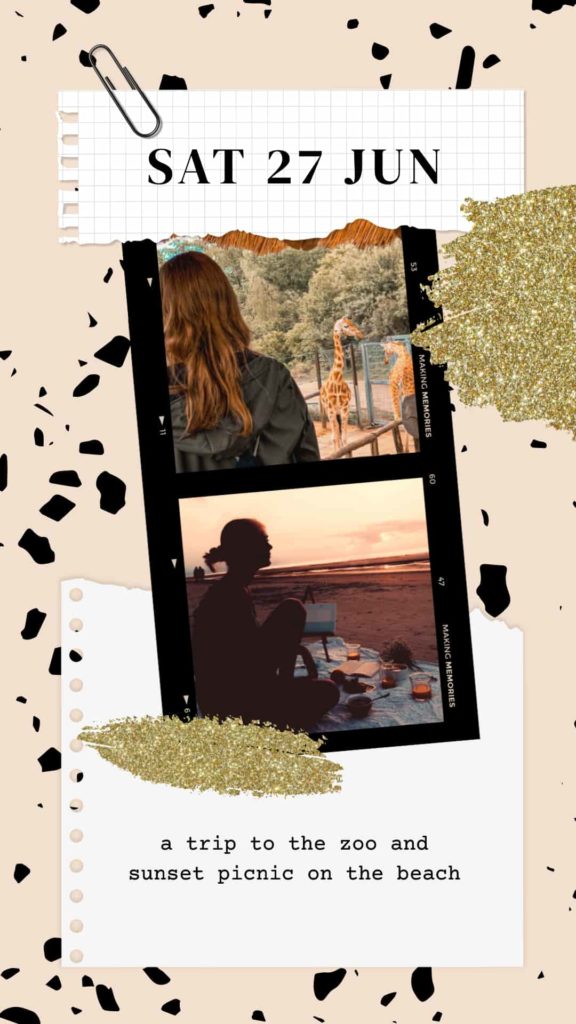
POLAROID / PHOTO FRAMES
Polaroid frames are a cool combination of a shaped image area, combined with a graphic area, which means that you can also adjust the color of the surrounding area.
To adjust the color area, place the mask on your design, and make sure you’ve selected it, by clicking on it. Then use the color picker at the top left of the screen to select a new color to apply!
Search: Polaroid in the Graphics tab (and select any of the results with the grid pattern showing) to add to your design or search for Polaroid in the Templates search field to start with a template already focussed on using these cool image frames!
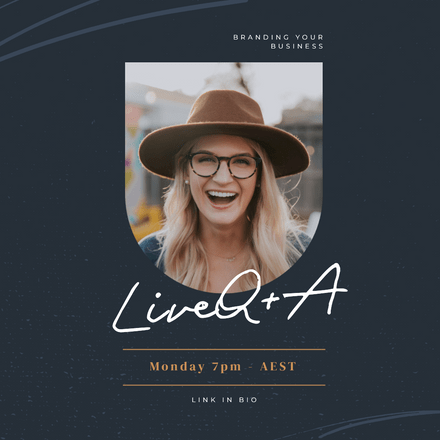
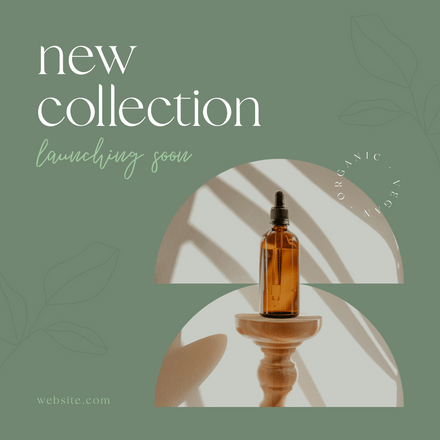
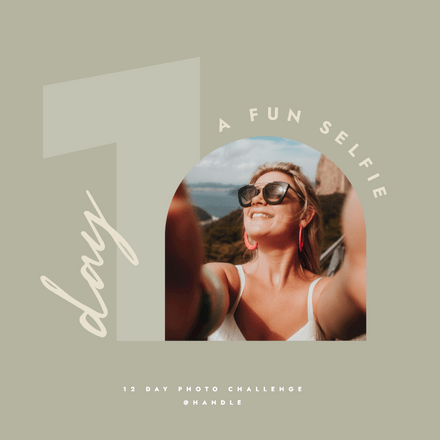
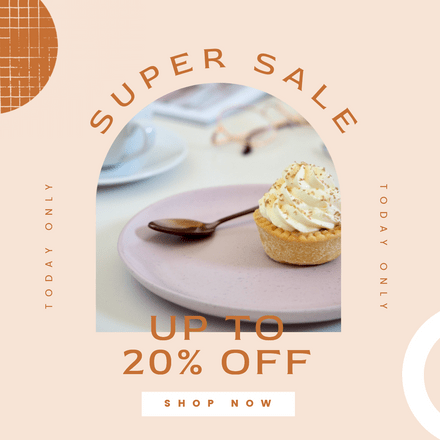
ARCH SHAPE MASKS / IMAGE FRAMES
Using arch shapes of all proportions is one of our favorite current styles, and our Art Director, Kris predicted they’d be hot for 2021 in this article – and he wasn’t wrong!
To find them in the Easil library, click on the Graphics tab, and enter ‘Arch‘ in the search input field at the top. Then drag any of the results (with the grid pattern showing) onto your design to get started with it.
Hot tip: Arches are perfectly suited to use with curved text!
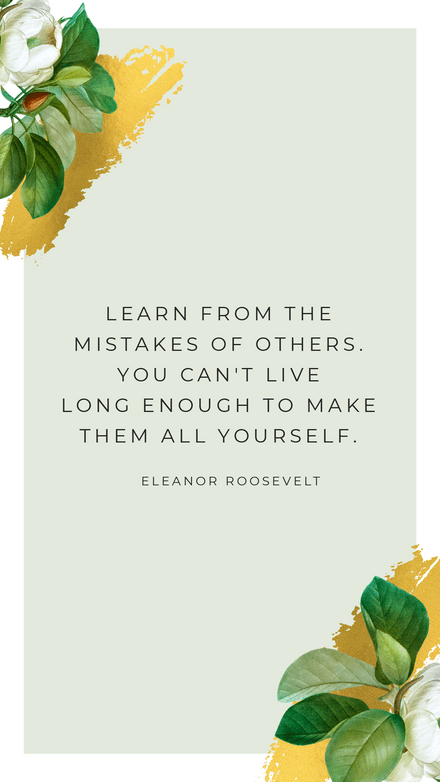
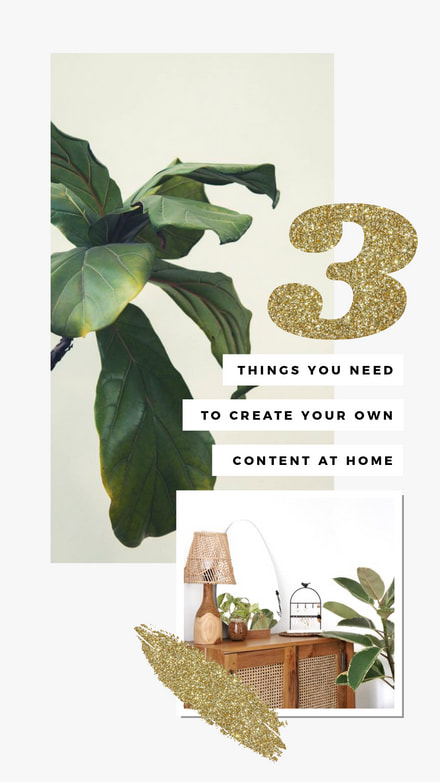
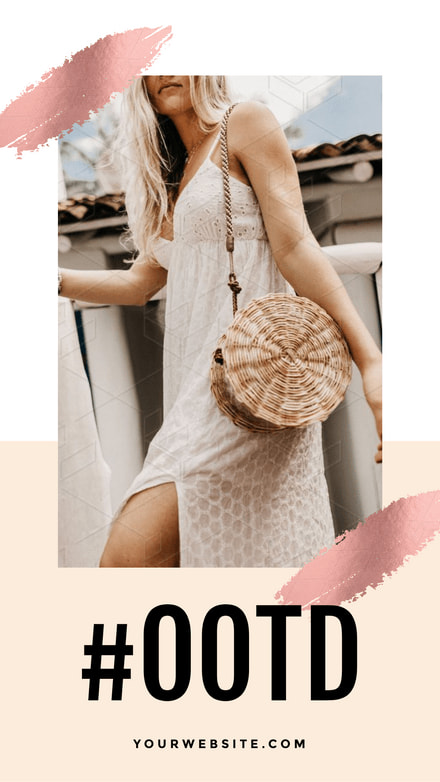
SCRIBBLE & PAINT BRUSH MASKS
Rough-edged, or paint effects shaped masks, are particularly effective for adding textures into. We love adding metallic gold, glitter, or silver into a brush-shaped mask and layering it under text or with other graphics within a design!
Search for ‘Paint’ in the graphics tab, and you’ll find a bunch of different options from brushed effects to rough-edged shapes. Remember, shape masks are the grey colored ones with the grid pattern on them.
TEXT MASKS – ANY FONT!
OK, so this isn’t really a shape mask, but it’s a feature you won’t want to miss in Easil. It’s our Text Masking tool, and it is next level, allowing you to use any font, to create an image mask!
This means that using a font that is made up of shapes (like a Dingbat font), you can turn any of those shapes, into a mask. Think about that for a second… it makes the possibilities for different shapes and looks for your designs.. endless!
Read more about using Text Masks here!

BONUS TIP! HOW TO CREATE AN IMAGE POPPING OUT OF A CIRCLE!
Now we’ve been through how to add images into Shapes, but what about if you want an image to pop out of a shape, like a circle? We’ve been asked for an easy way to do this so many times, so we have recorded a video with the easiest way to do this:
OVER TO YOU
So that’s it for our feature on creating masked images in Easil.
We hope you’re as excited about Image frames/shape masks – as we are when we create our Templates using them! And don’t forget, if there are shapes you would like to use but can’t find them yet – reach out, and our team will do their best to get them into place ASAP!