
This post is all about beautiful text masks, or “images in text”. You’ll learn what they are, and different ways to use them to WOW with dazzling designs.
And you’ll learn how to create them easily and quickly using Easil.
So, let’s start with talking about what this text mask thing is all about:
What are text masks?
Ok, Ok, you’re right. We might say this each and every time we release a new feature, but… we’re in love!
With our Text Masking feature you can turn any font – ours or yours – into beautiful text that is filled with an image of your choice in a few clicks. We know you are going to love text masks and what you can do with images in text.
The best thing about it? The text remains editable.
Yes, you heard that right. Unlike some other tools, you don’t have to work within the confines of a small library of text-like frames. Our developers went the extra mile to give you editable text masking. We’re in heaven, just sayin’.
We have TONS of new templates coming into the library, where you can get inspired – or just click to update. Add your own images, filter them, or just update our placeholder text. The creativity you can achieve with our text masks is insanely cool. It’s available now for Plus users of Easil.
So, let’s take a look at some amazing creations using this effect, and show you how you can step up your graphics by using text masks to your own creations.
We’ll start with the easiest projects to create, then move to more advanced graphic options for all you power users to add images in text… that grab attention!
How to Create Images in Text with ‘Text Masks’
#1 Create an image in text over a flat background color
This option is perfect for quick social media graphics, simple posters or header pages for documents.
- Start with choosing your design size, and typeset the word or phrase to be filled with an image. We recommend using a chunky or thick font for best effect.
- Click on the Text Mask icon in the top Action Bar.

- Select your image from your own library, upload a new one, or use any image from our included free and paid image libraries. Click on your image to add it into your text.
- Reposition the image by using the crop tool in the mask tool subset, or add a filter in the same editing area. Once you’re happy with the text effect, return to the main Easil editing interface by clicking off the text, or pressing the left arrow at the top of the action bar.
- Add your background color. We’ve left this until last so you can choose a color that contrasts well with the text.
That’s it! Your first image in text graphic is ready to post!
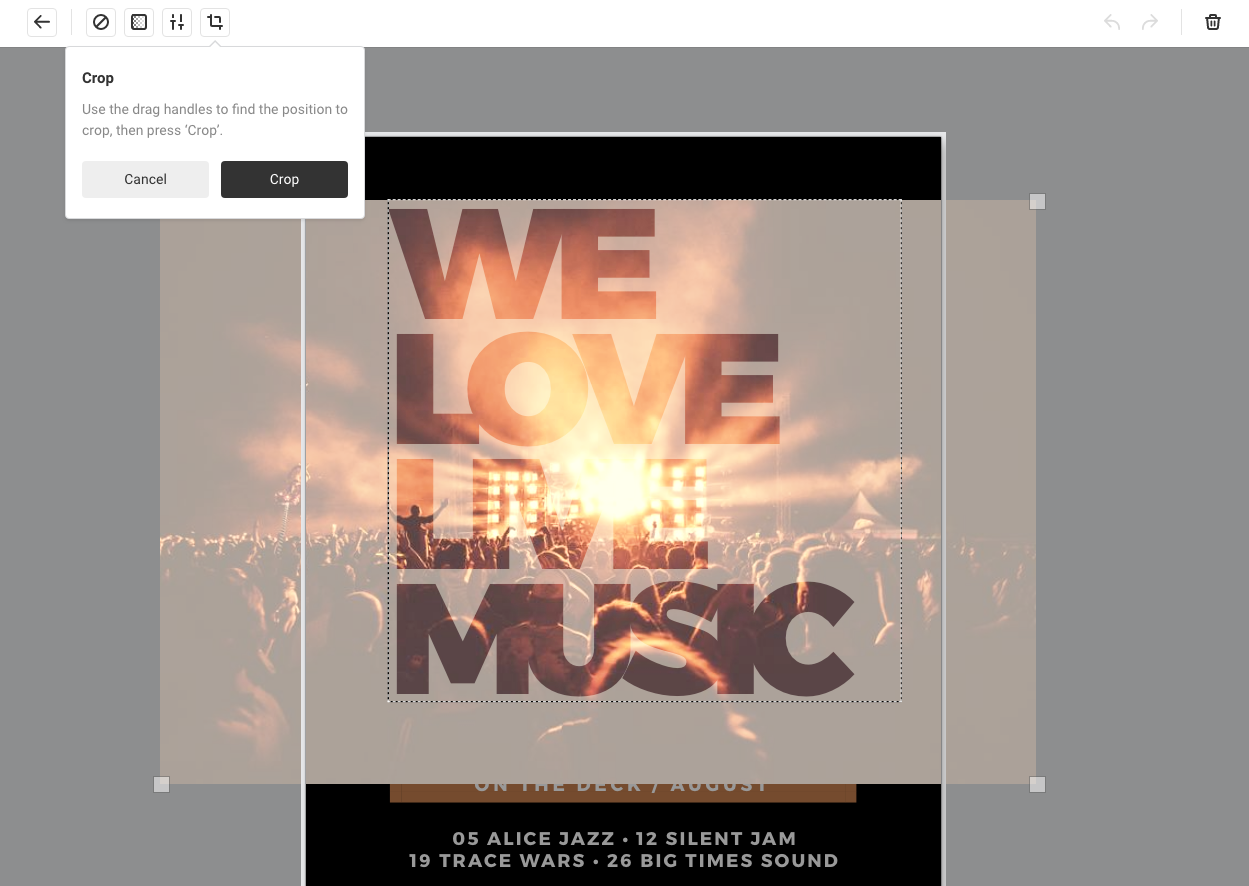
#2 Repeat your background image in text

Adding a copy of your background image into feature text looks stunning when it’s turned into a graphic highlight, rather than a long text feature or headline.
Let’s explain how this works in steps and images to make it a little easier to see:
- Add your background image to a blank page. Here we’ve used a soft watercolor image of pinks and oranges blended together.
- Typeset your message, and choose a highlight word that you’ll repeat your image into.
- Apply a bold font the highlight word, like we have here with the SALE message.
- Select the word, click “Edit Mask” and click on the same image as your background.
- Use the crop tool in the mask tool subset, to reposition the image to look similar to the position of the background image.
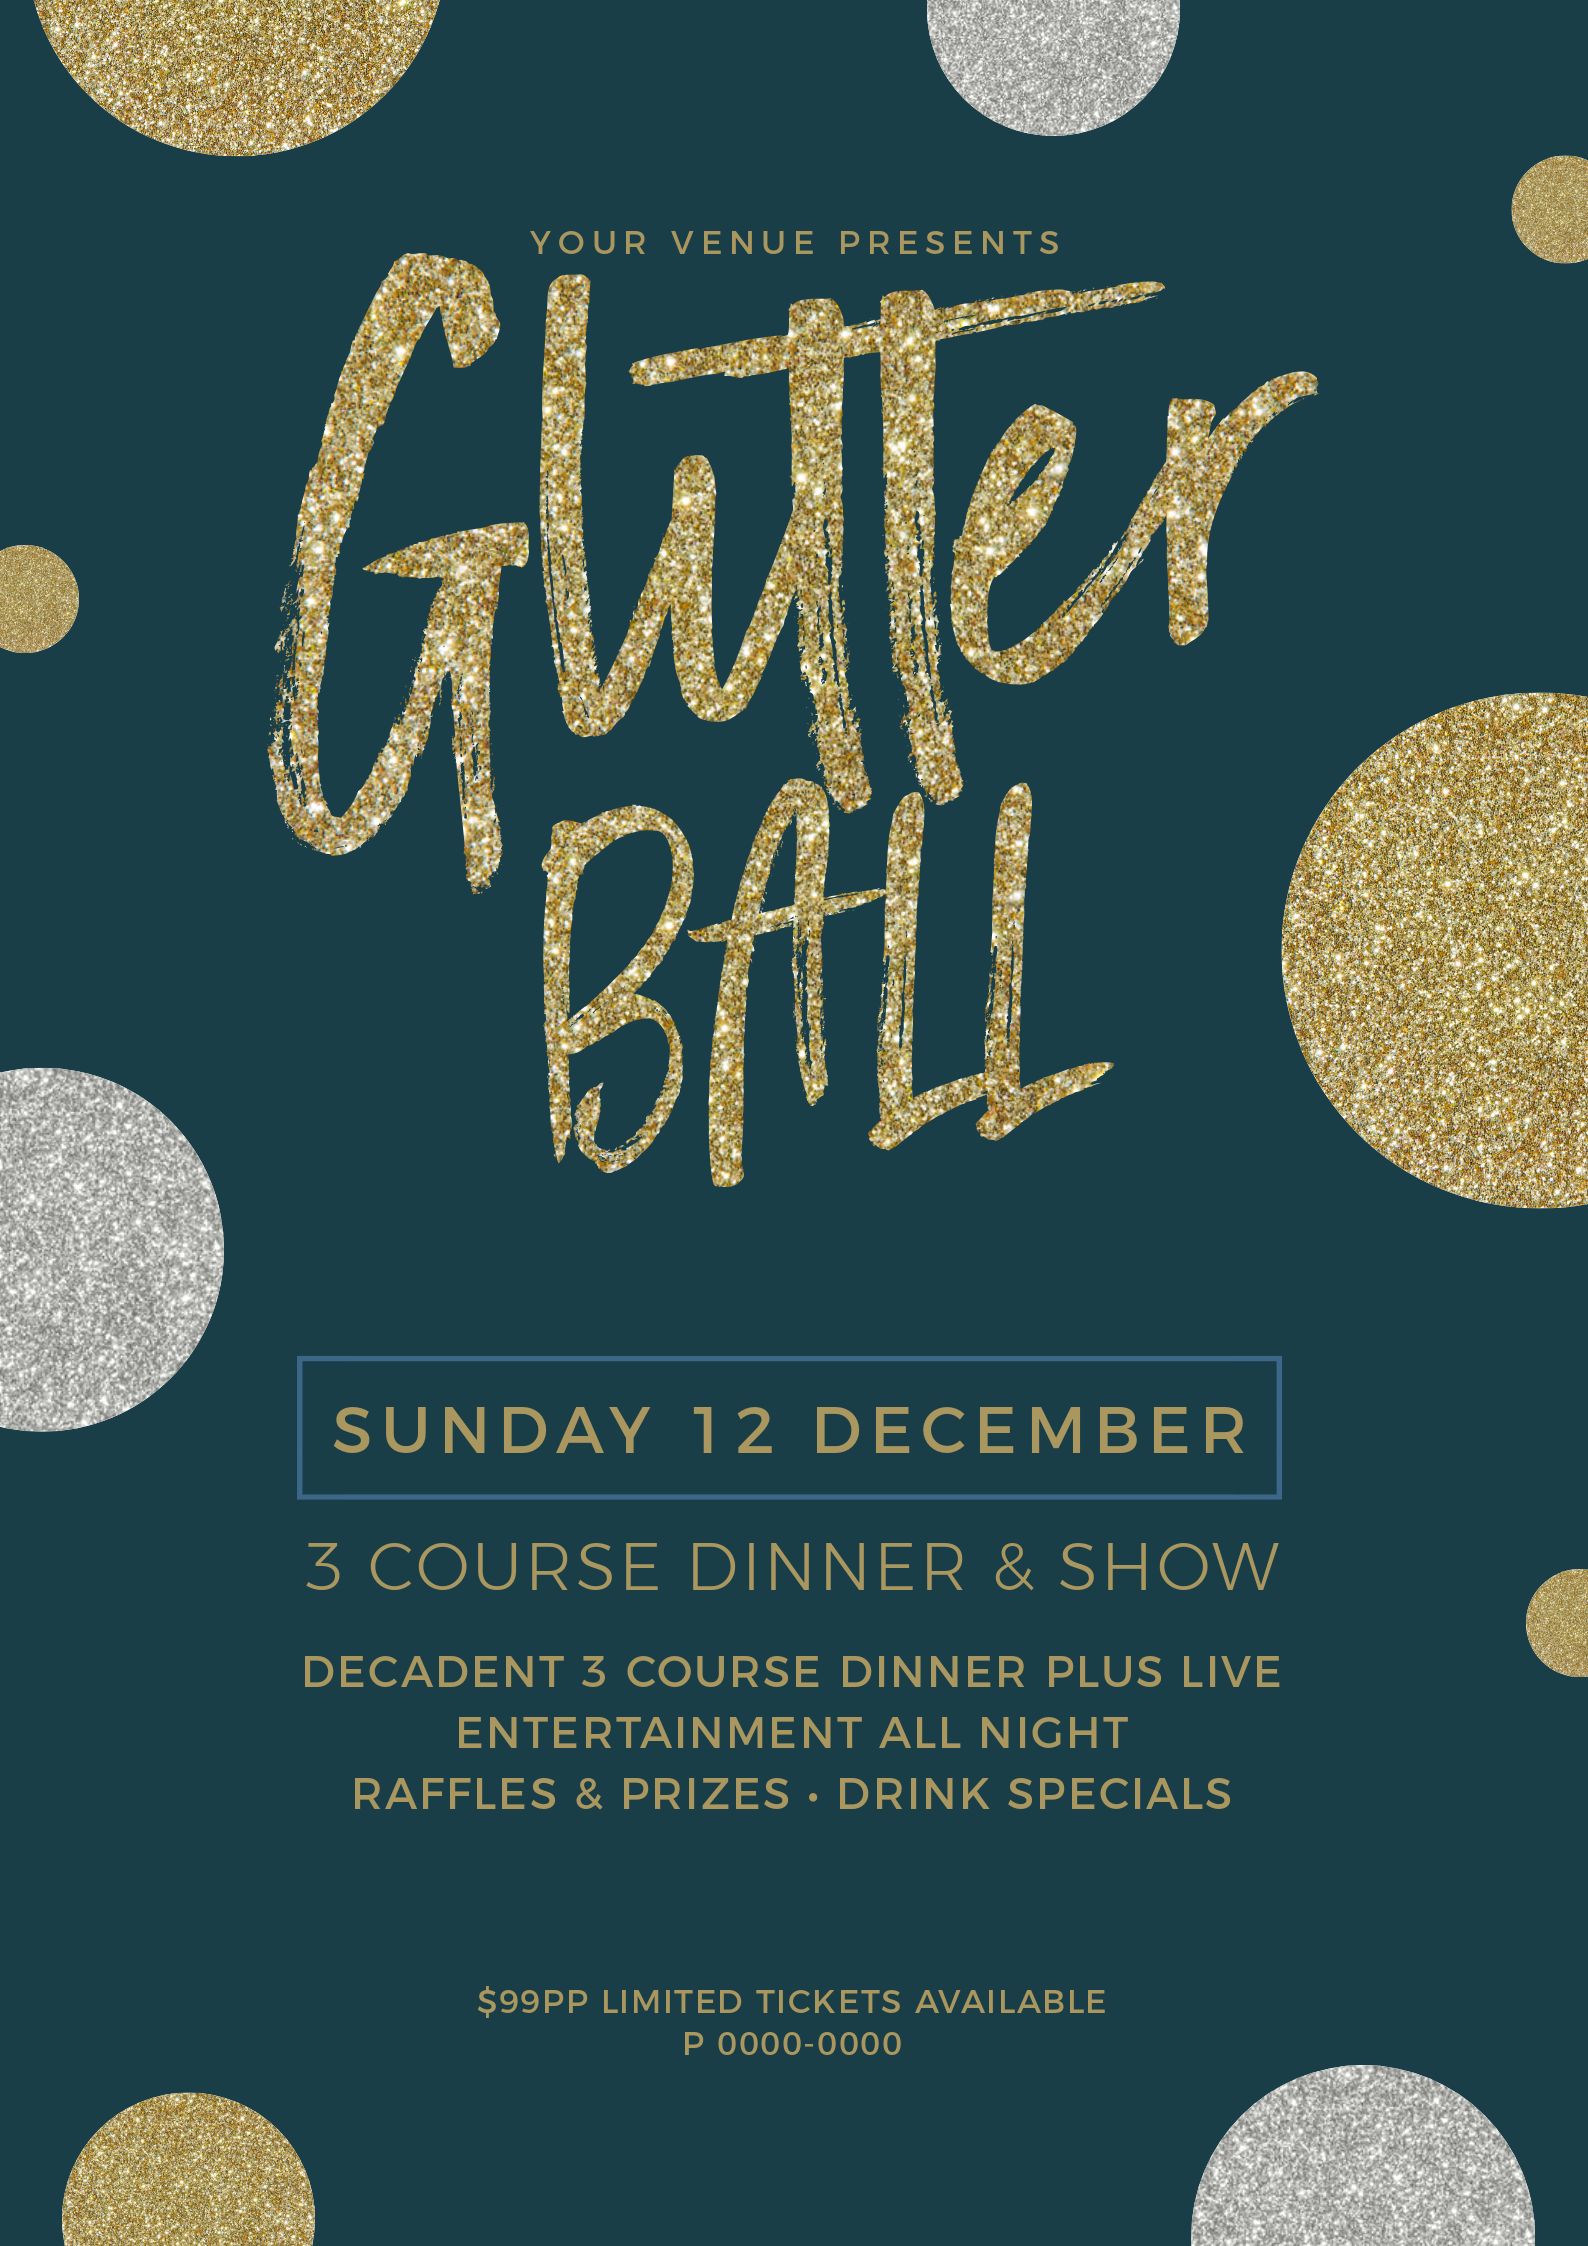
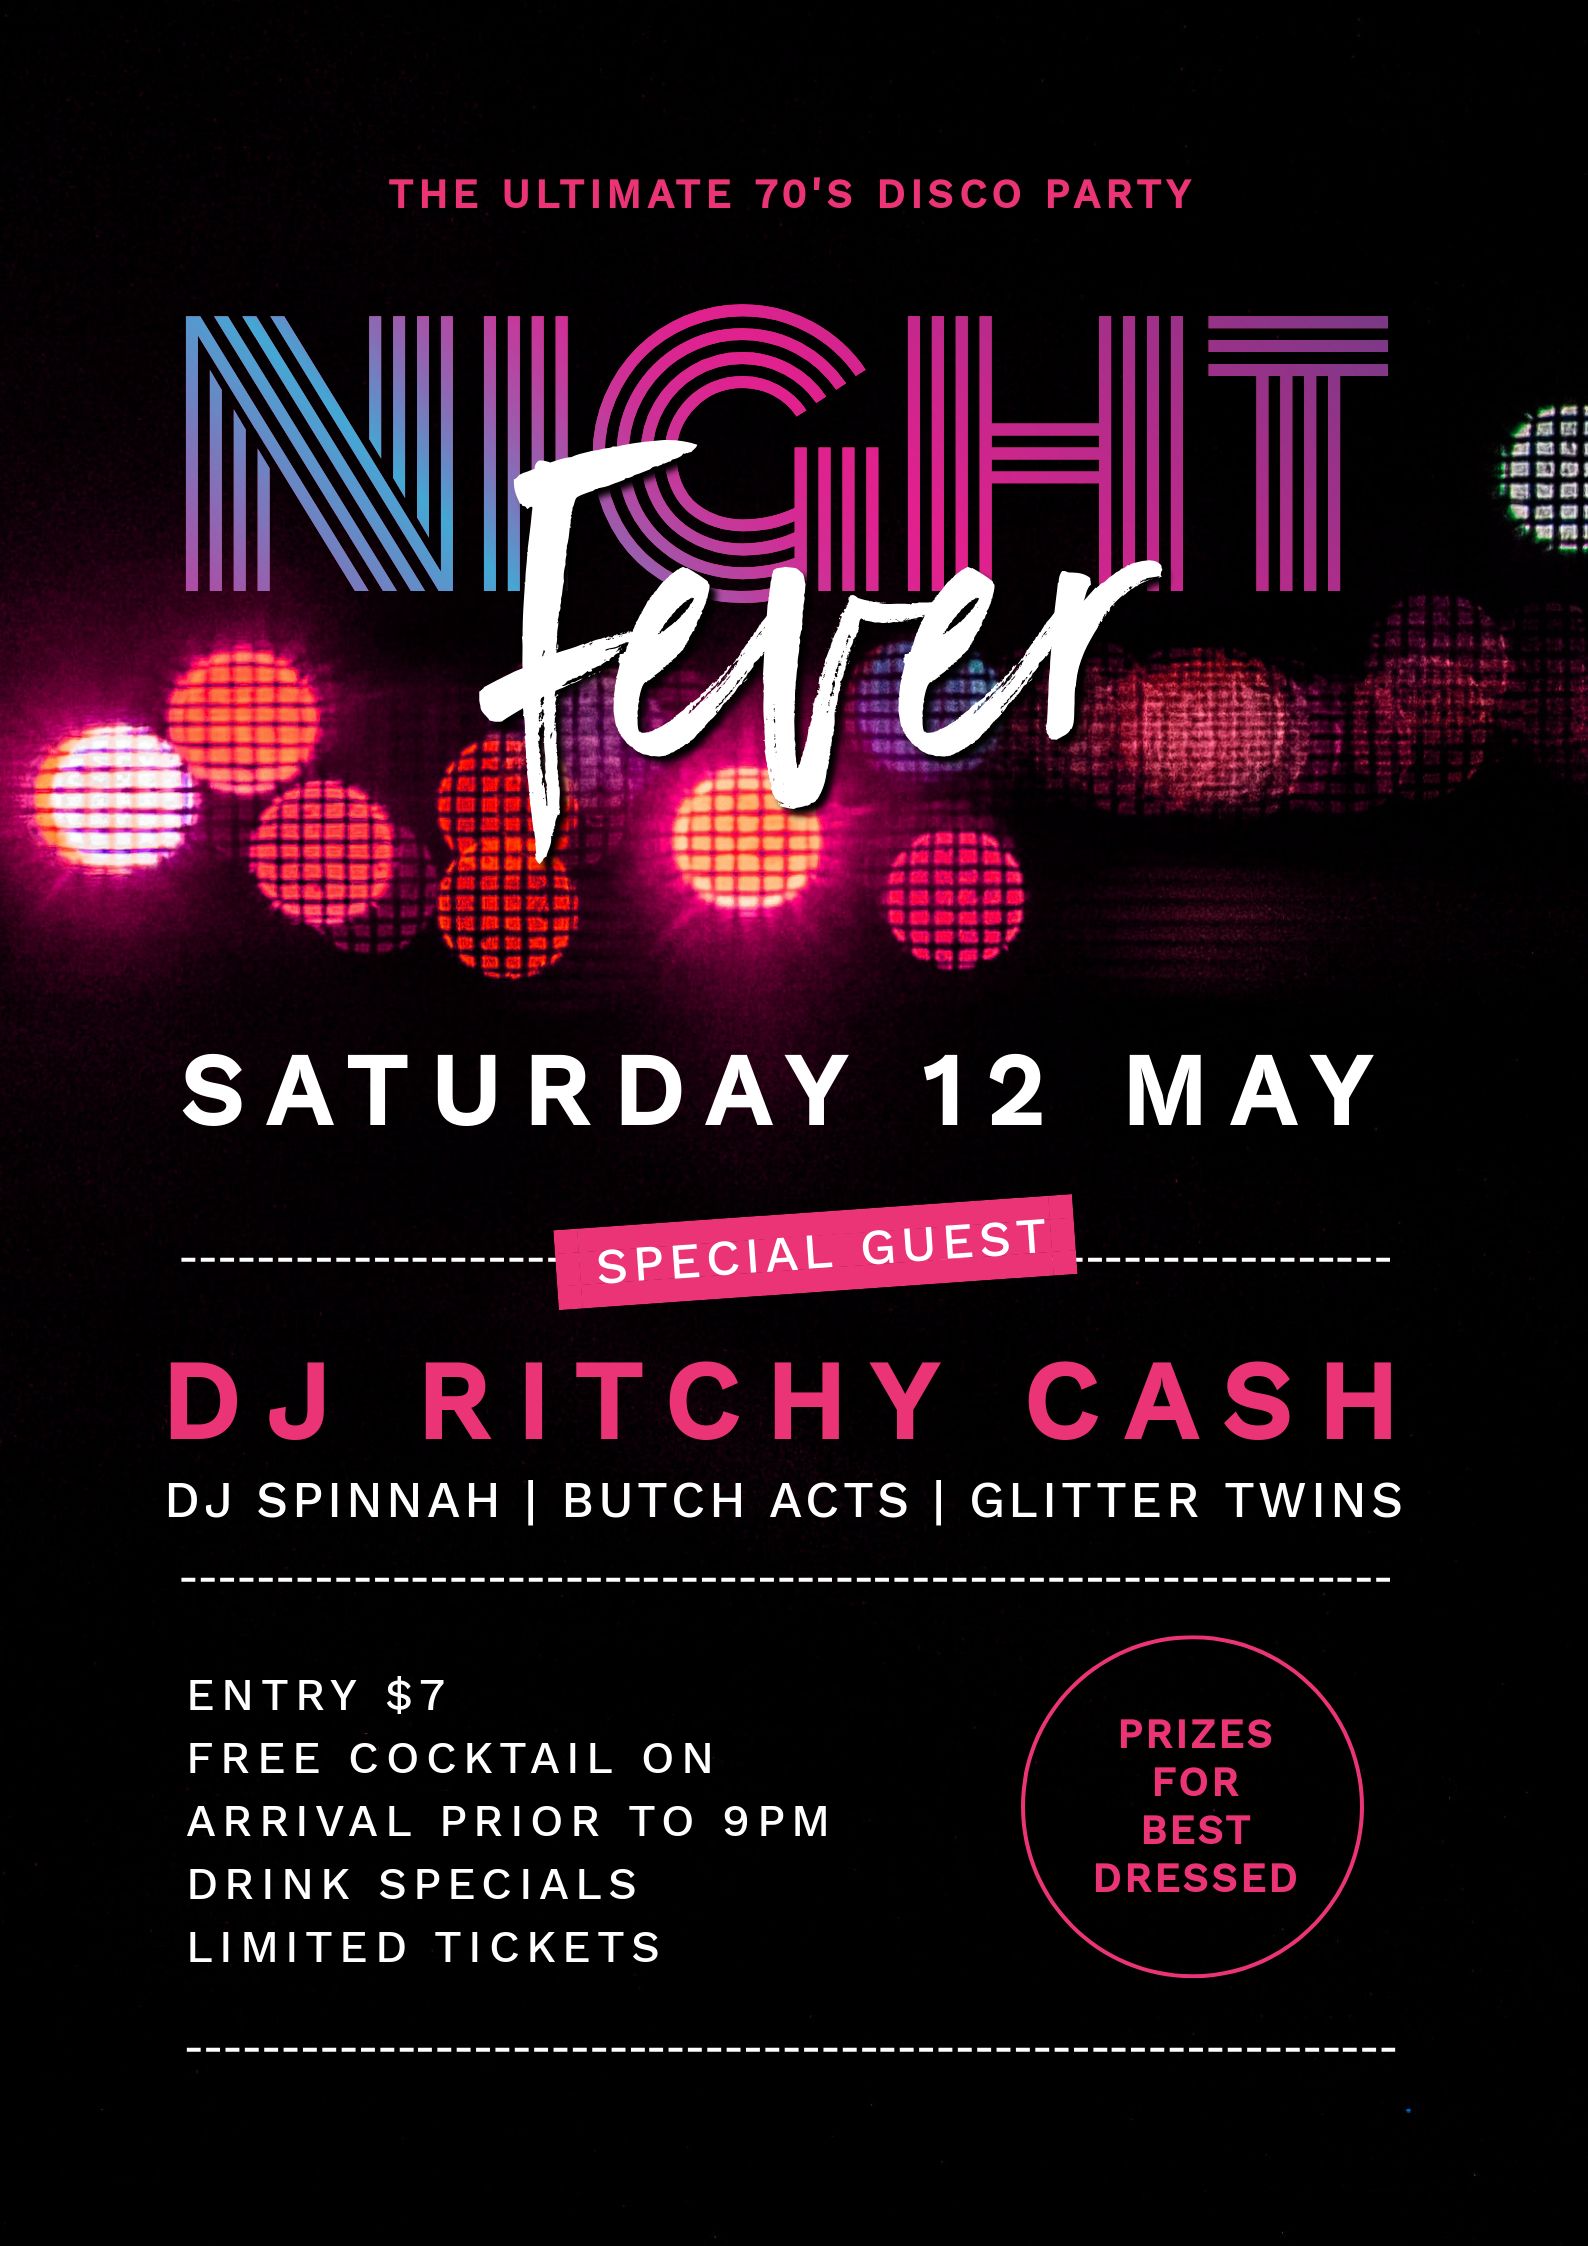
#3 Create metallic or golden, glittery text
Shiny gold, glittery, silver and bronze. Ooh la la! It’s all possible now with Easil’s Text Masking!
Metallics look best in text when paired with solid background colors.
We love the example below, where the sparkle effect works perfectly with the Glitter Ball theme:
All that glitters is gold, silver and bronze… with these steps:
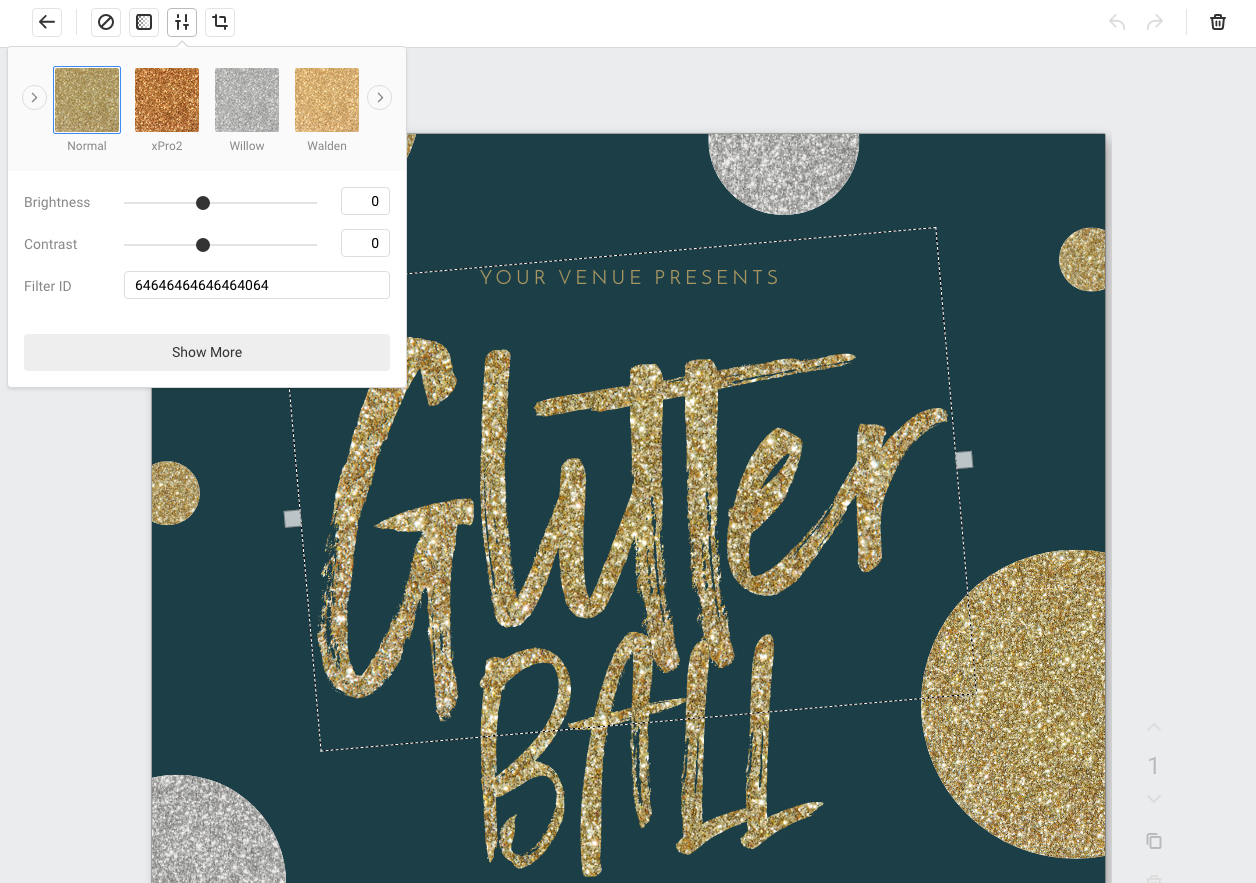
- Open the design that you’d like to add your metallic effect text to.
- Apply the font to the chosen area.
- Select the word andclick “Edit Mask”.
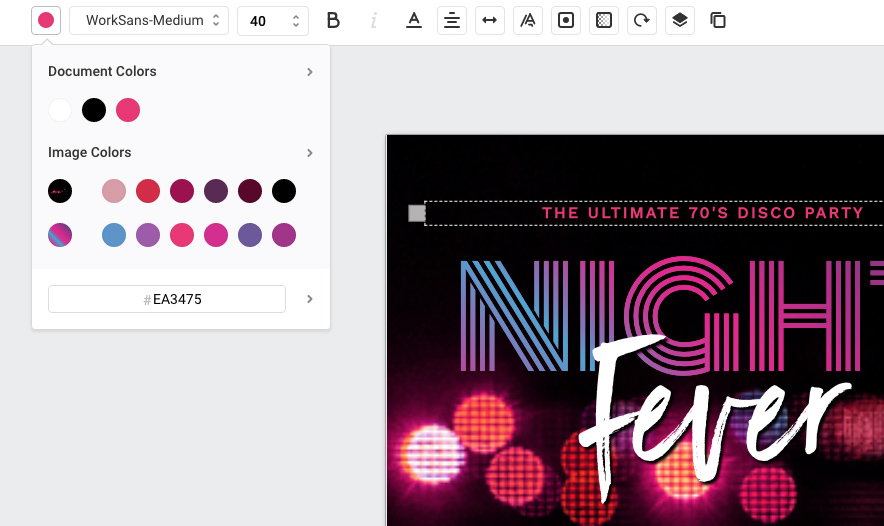
- Search in Easil’s image library for ‘glitter’ or ‘paint’ to find some golden images.
- Click the image to add it into your selected text. Reposition it within your text to perfect it – if required.
- Add some ‘bling’ elements. This is totally optional, but will give extra ‘shine’. Search for ‘bling’ and place a few of these in various places on the edges of your text.
Who needs Photoshop for creating shiny text now?!
HOT TIP: Use image filters to change gold text to silver or bronze in a single click!
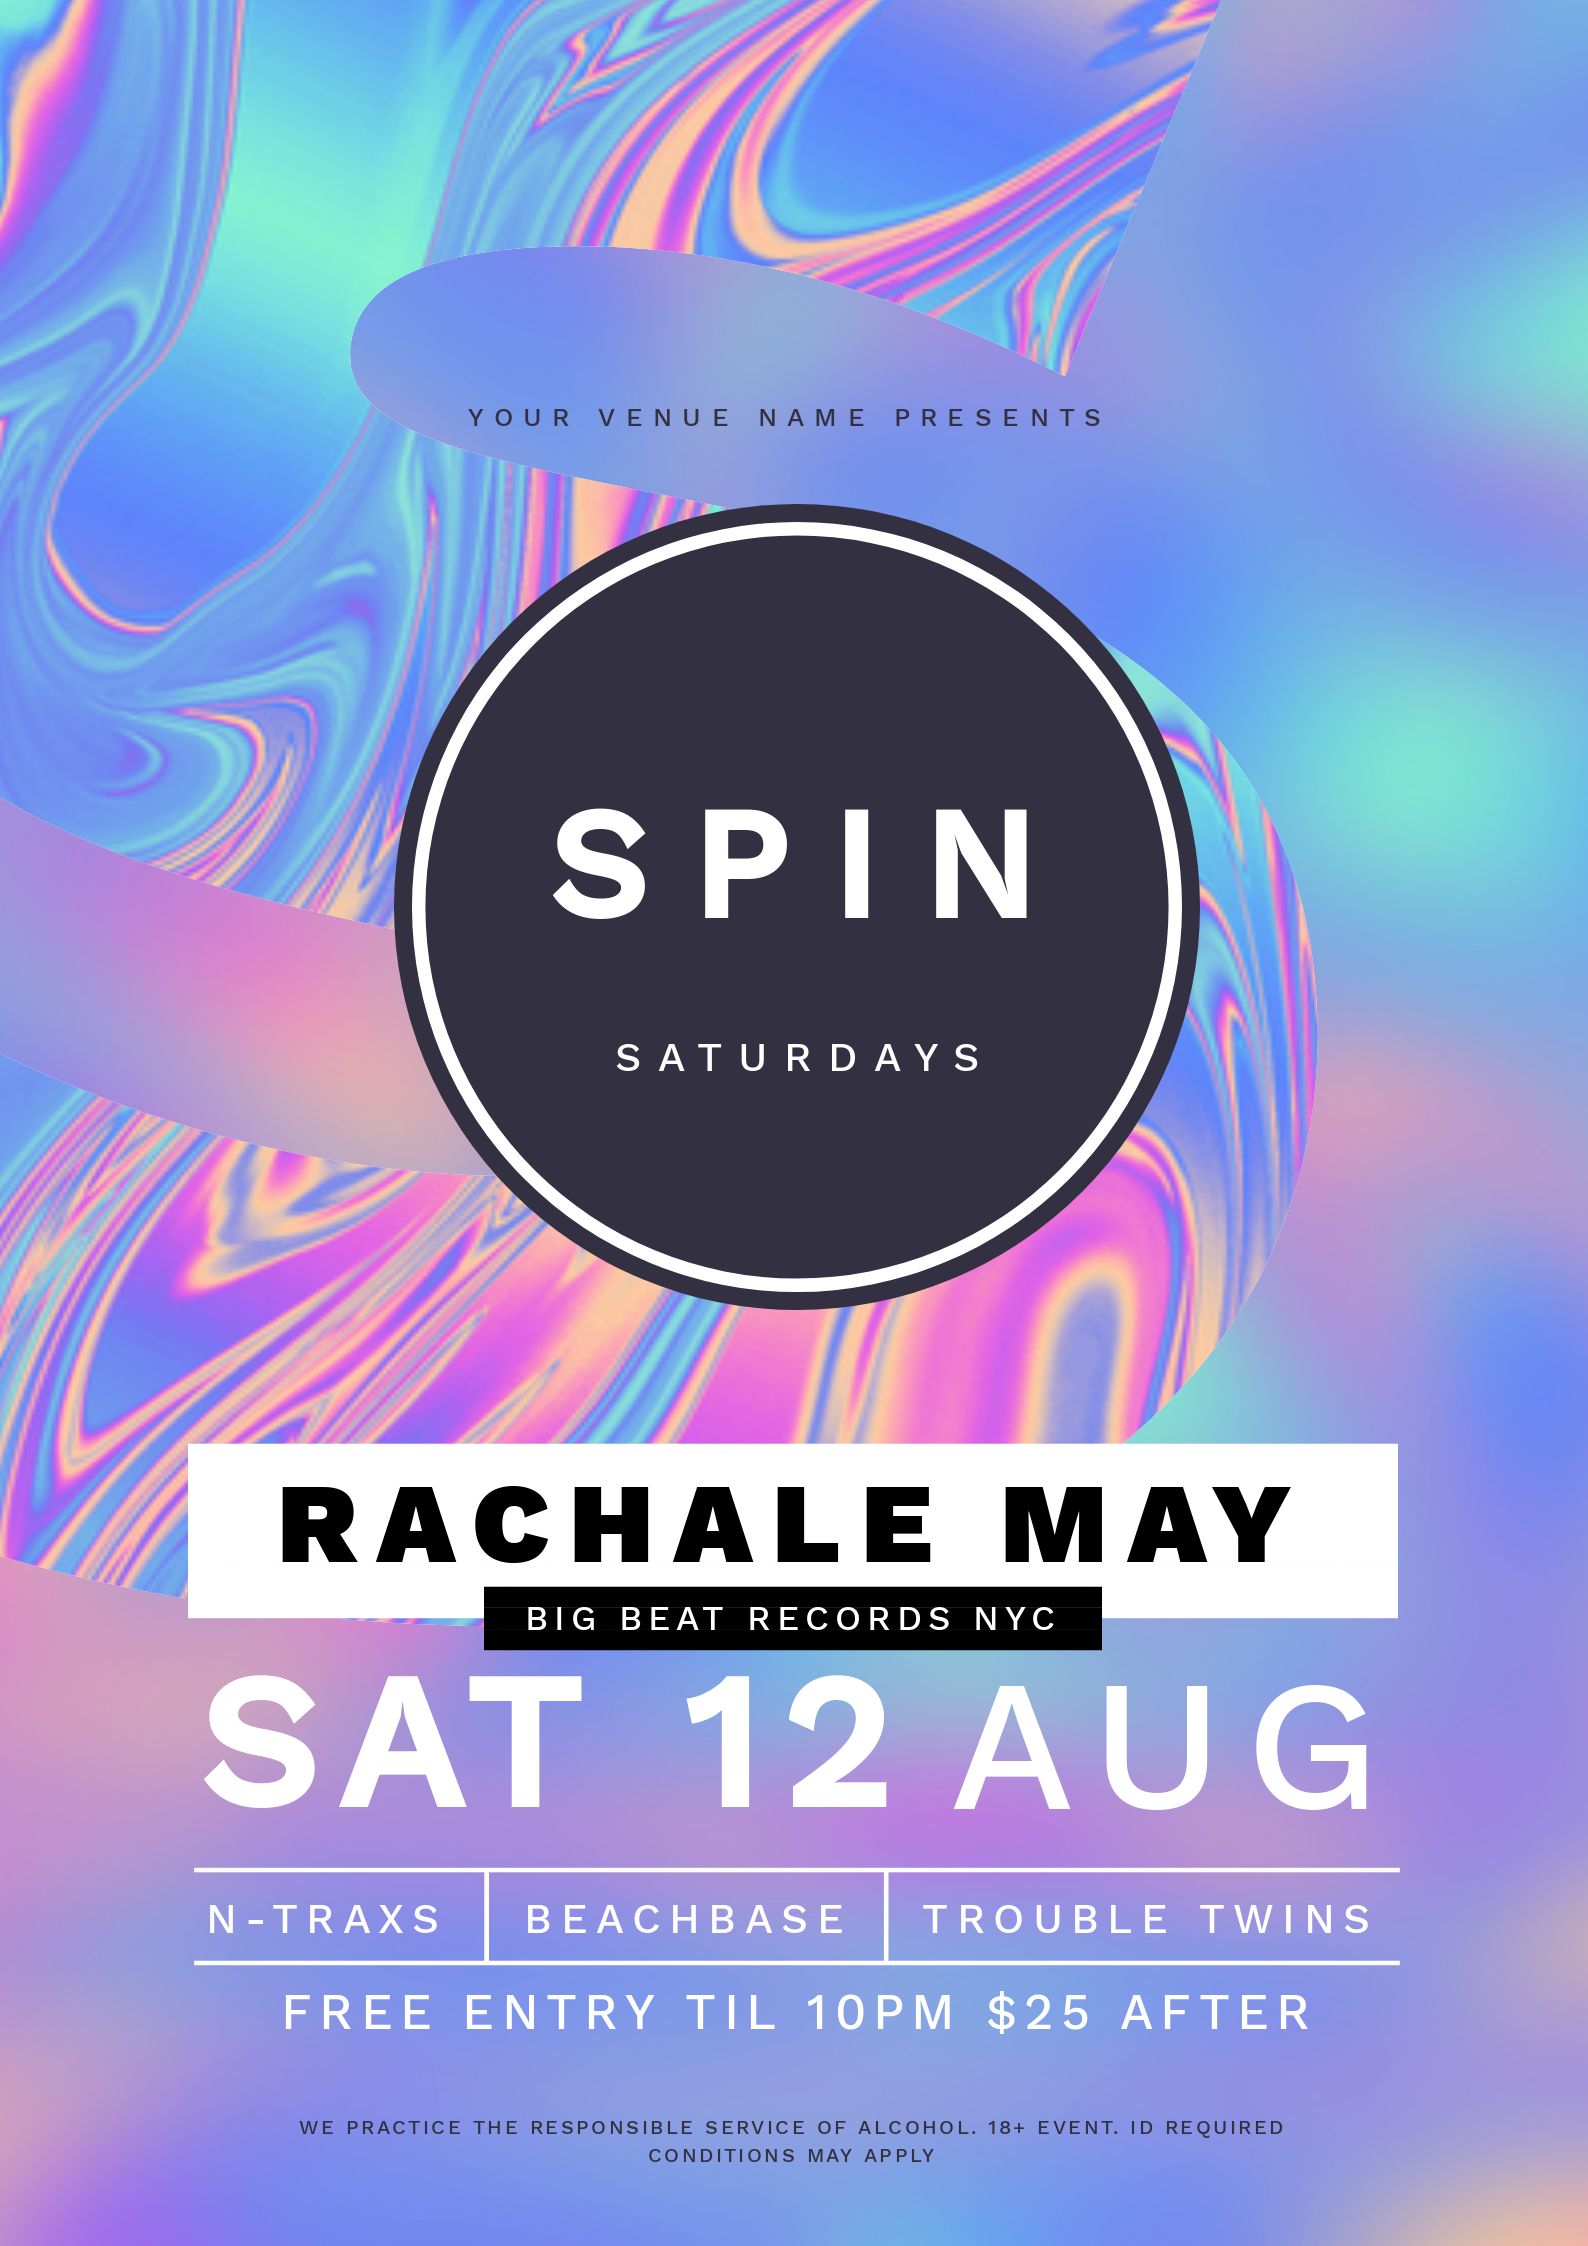
#4 Use Filters to add depth to your design
Using filters is another technique to use your image in text as a graphic element. Specifically, the blur filter is very effective for doing this.
Adding blur will soften the contents of your letter or word, so that when it is filled with an image, it will contrast nicely against your regular background.
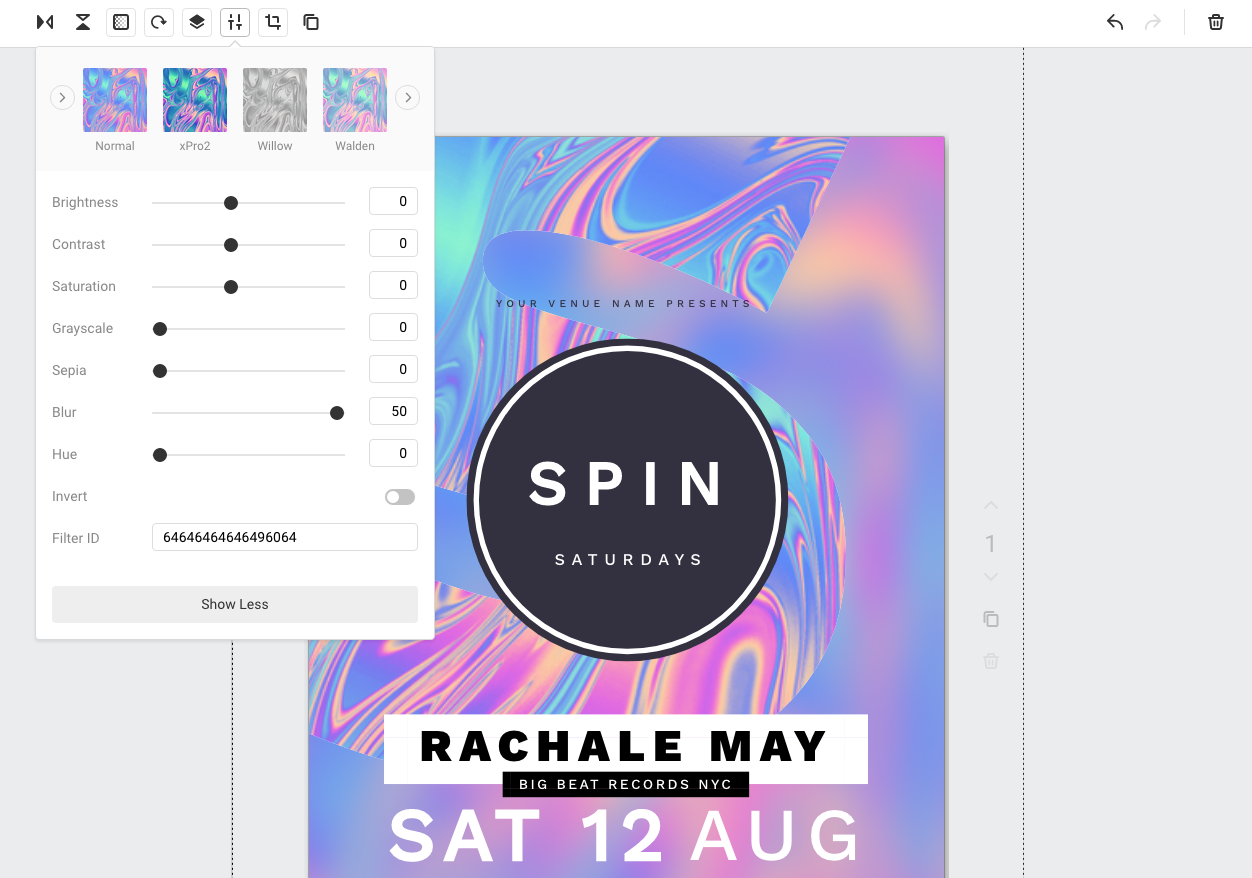
How to achieve this effect?
- Select a template or add a background image to a design that is quite detailed.
- Typeset your letter/s or words.
- Add the same background image, into your text letters by clicking on the text mask button
- Select the Filter button, press the ‘Show More’ button at the bottom of the panel, and use the Blur slider to adjust the filter until the image is out of focus.
TIP: We like using this effect for either a single letter or number placed on a design, but used at scale.
#5 Create a gradient filled image in text
This style allows you to choose a gradient image and then pull it into your text – bringing balance to your design between text, image and other elements and colors:
How to achieve this effect?
- Select a template or add a background image to a design that is either a block color, or not too detailed.
- Typeset your letter/s or words.
- Add a gradient image, into your text letters by clicking on the text mask button.
- Resize the mask by pressing the mask button, then the crop icon, and using the handles to resize.
- Use the Image Color Picker to bring back some of the gradient colors into the text in your design, to tie it all together.
TIP: If you like to use a lot of color in your creations, this is the place to play! Colorful gradients look HOT in headings, and won’t blind your audience compared with using them as a background image!
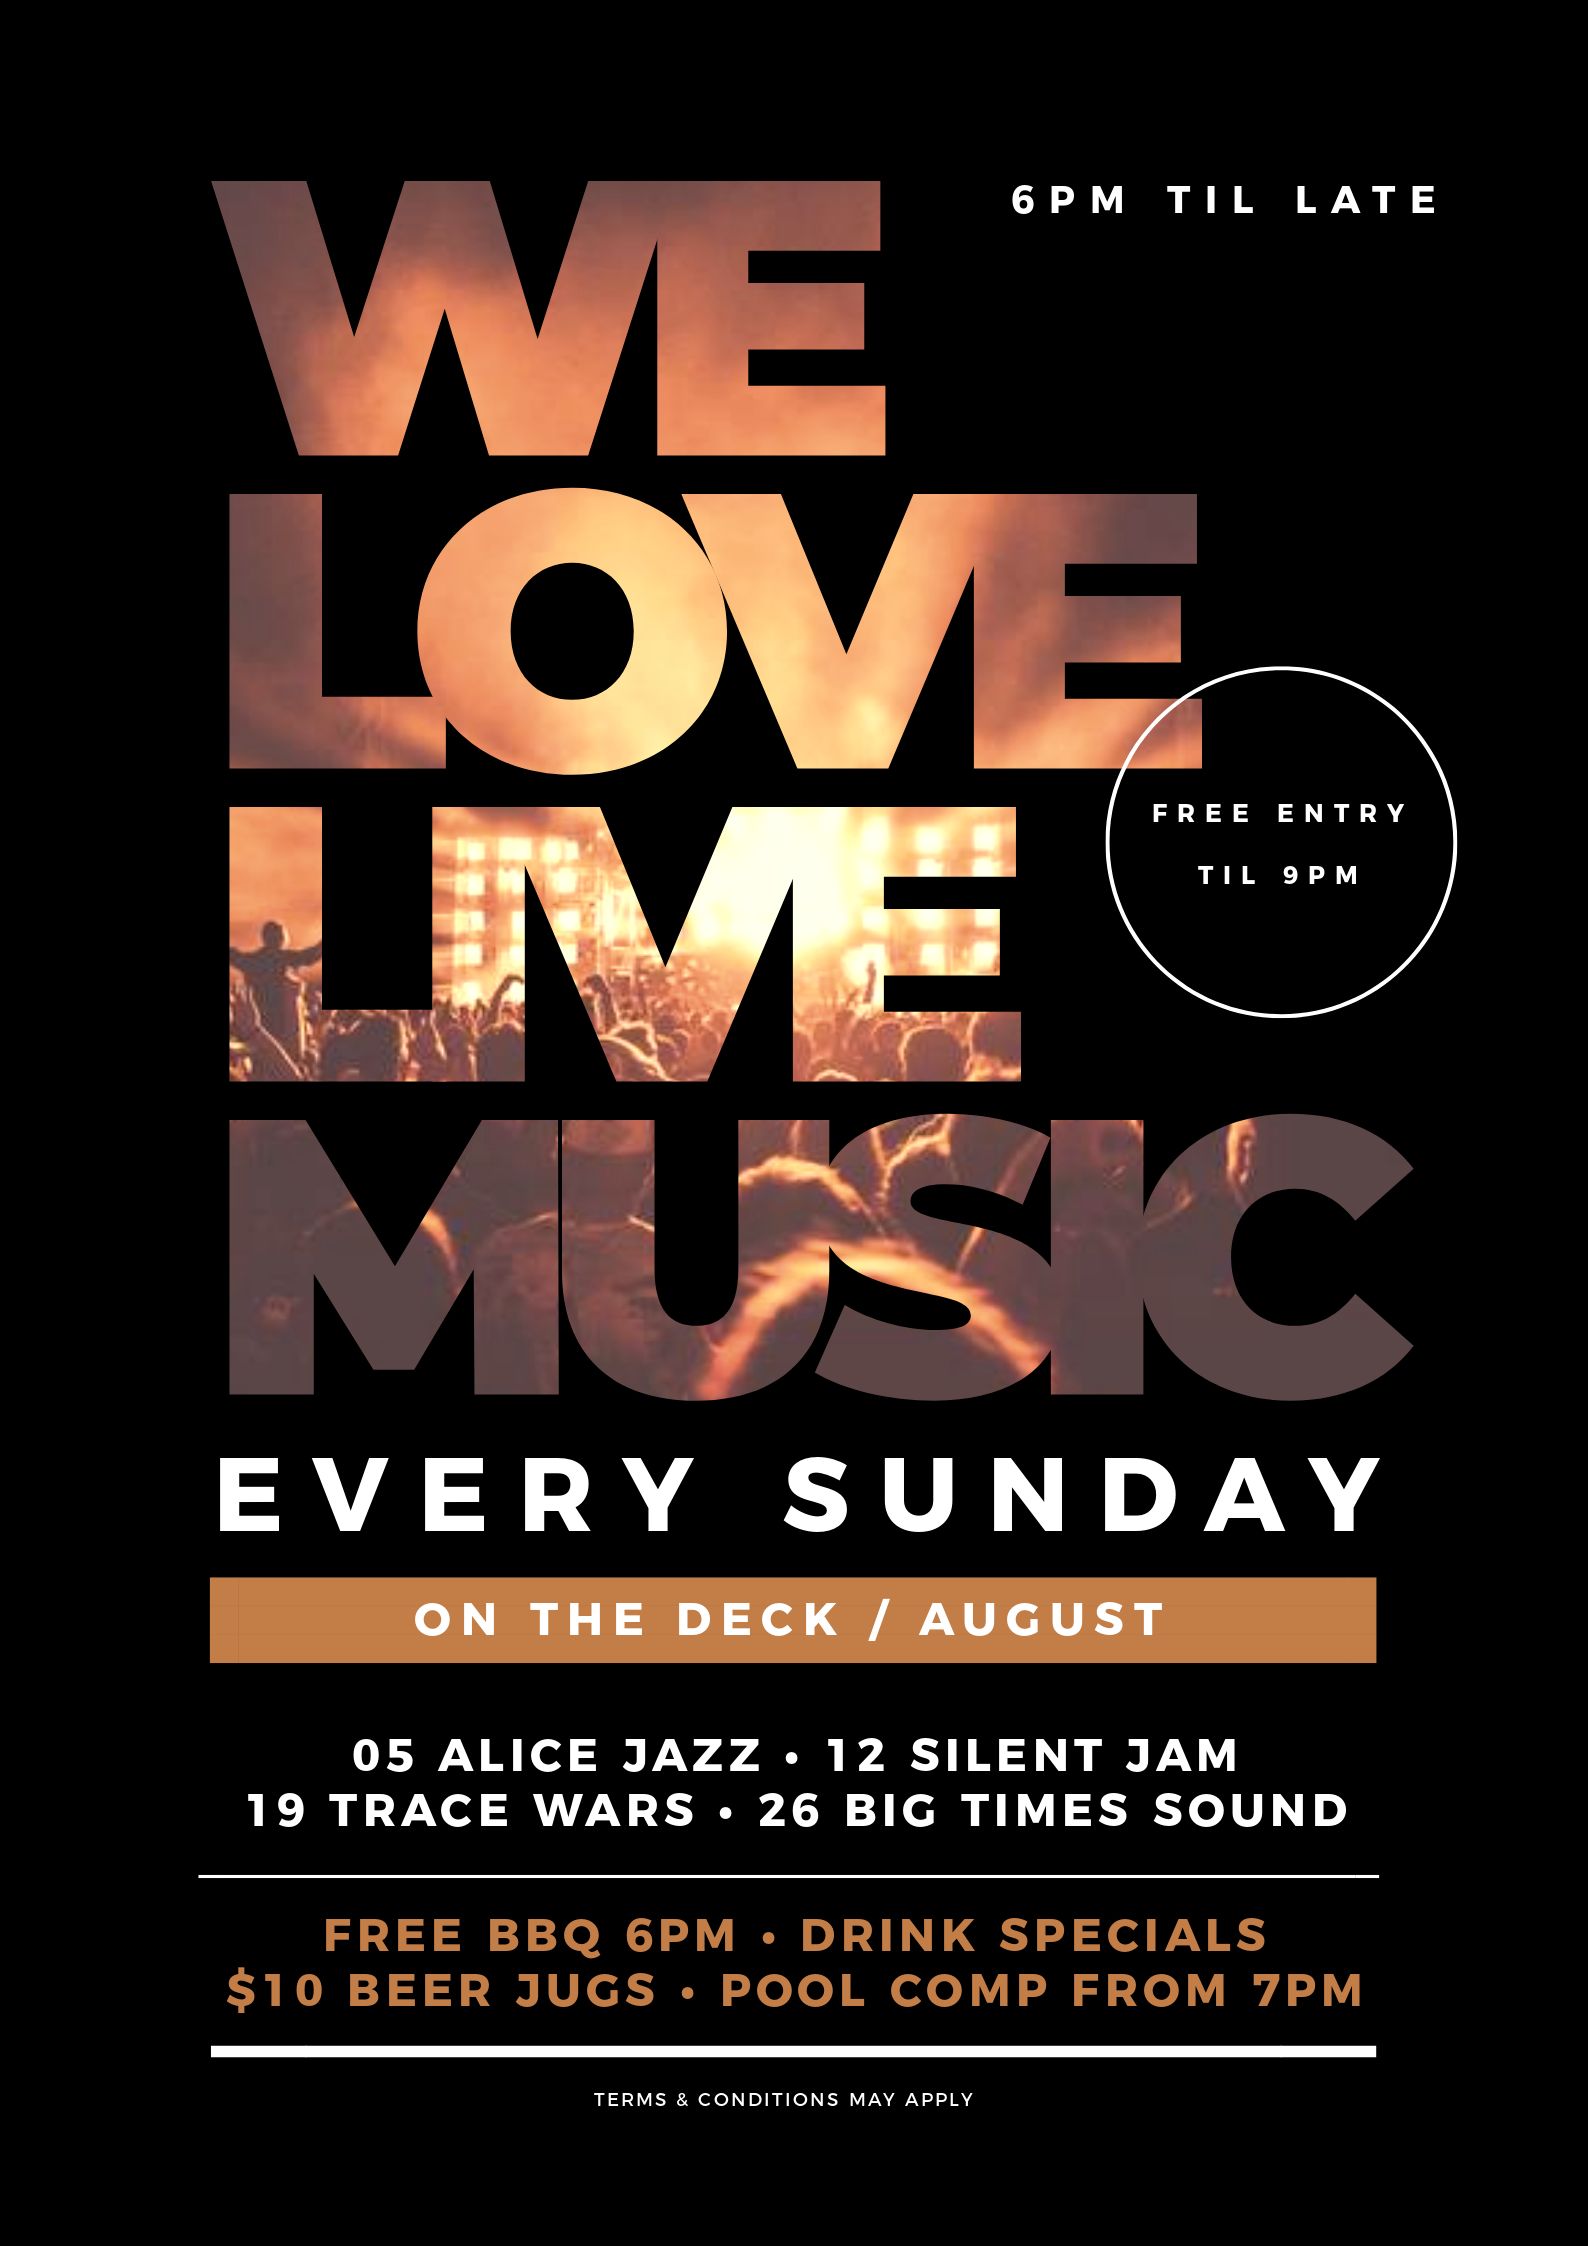
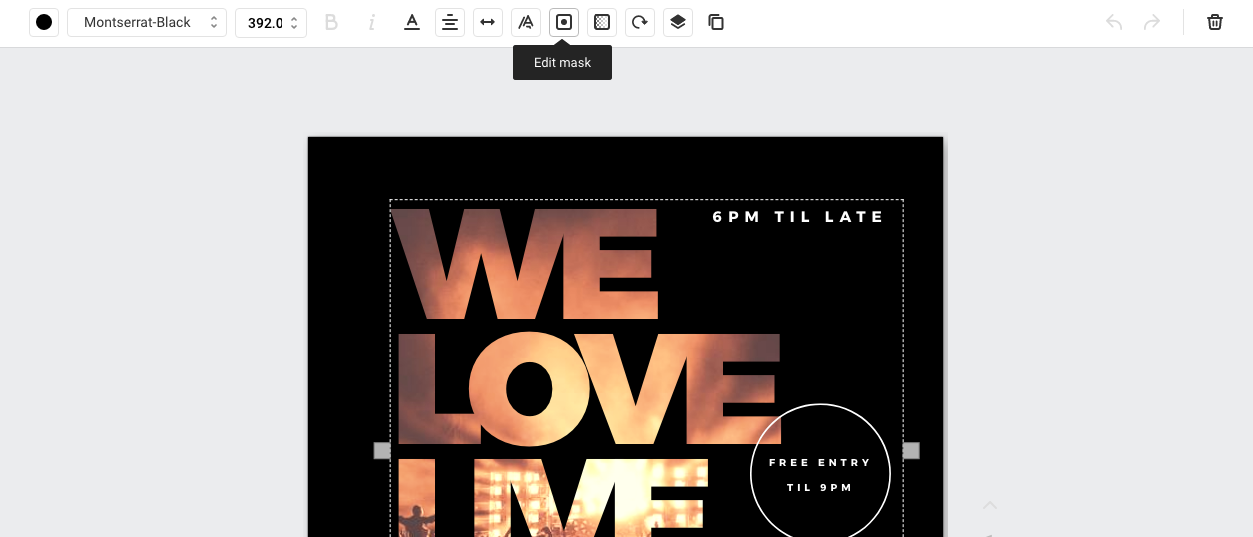
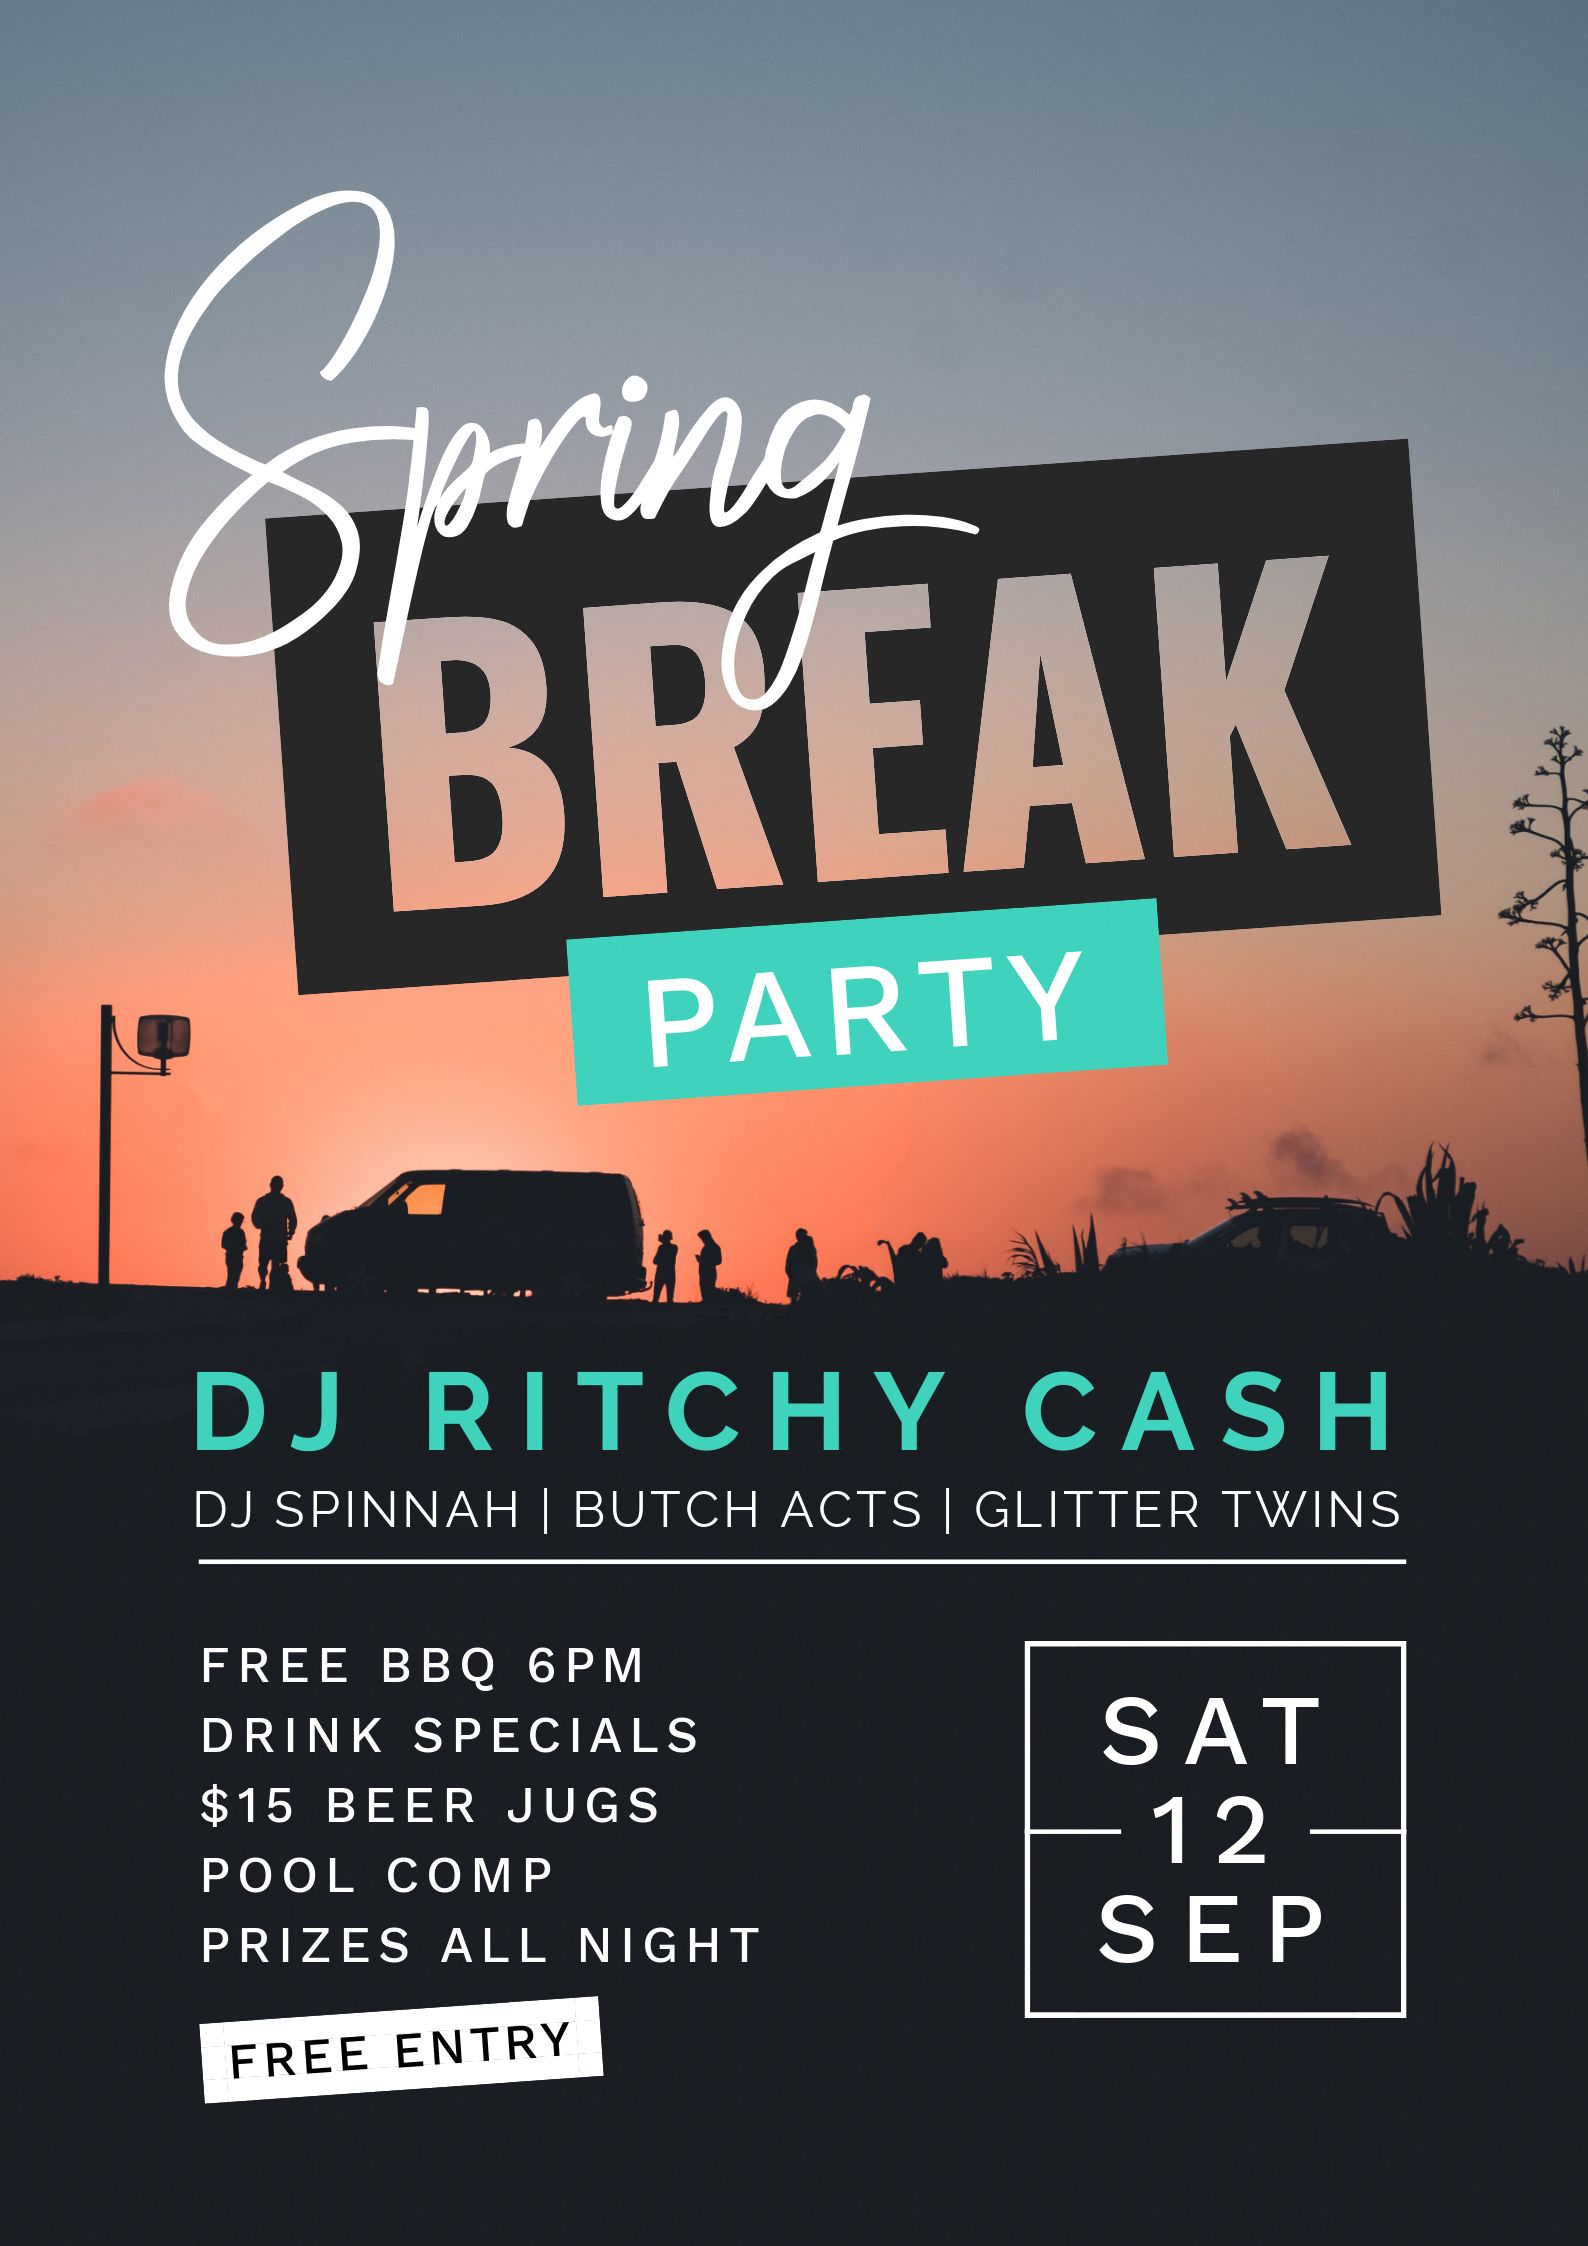
#6 Use your main image to extend or bleed into your text
This text masking effect is very powerful and results in a cohesive design where the main image seamlessly bleeds or extends into your text. Sometimes the best effects (including images in text) happen when you focus not on adding extra elements in, but using what is there already and not messing with the design too much. Simplicity works and the final design speaks for itself:

- Select an image that is suitable to be cropped eg an image with extra sky, grass or less important detail.
- Place the image in your design, covering the entire background.
- Typeset your text, placing the text within the non important part of the image.
- Crop the image so it aligns directly next to the text you have placed.
- Select the word & click “Edit Mask”.
- Select the same image by clicking on it in the images tab – images already used in your design appear at the top of the list.
- Use the adjustment tools to enlarge the image placed in the text to match up exactly with the sizing of the main image.
#7 Show your background image through to the headline text
Like the previous example this masking effect is another way to create an impactful heading by simply allowing your background image to come through the headline text. Again, this effect makes your heading stand out and get noticed:
- Select an image that has a clear zone for your text to be positioned in.
- Place the image in your design, covering the entire background.
- Typeset your text, and add a shape behind it.
- Use the image color picker to apply a color from your design onto the shape. Make sure you choose a contrasting color!
- Select the text above the shape to be masked, and click on the same image you used for the background.
- Reposition and enlarge it using the crop tools located in the Mask tools, until it mimics the position of the background.
Love Text Masks?
Can you see why we are SO excited (and in love with) text masks? Our text masking tool is going to be a game changer for users of Easil. It’s available now for Plus Level and above on Easil.
And it might just (OK, so we think it WILL) bring back some class to DIY design. We hope you love the idea of images in text as much as we do.
What Do You Think?
Are you in love with images in text? Are you keen to try out Easil’s Text Mask tool? Let us know what you create!


