If you create menus for your work or business then you will LOVE this post (and Easil’s Menu Maker). We’ll take you step-by-step through how to create menus quickly and easily.
In most restaurants, pubs and venues it’s the chef who creates the menu. Then they must endure wasted time waiting for designers to produce the menu.
The process of back-and-forth between chef and designer can be frustrating and long-winded. It often requires a price change or alternation here or there, but can also result in several reviews and a lot of wasted time!
The difficult thing about all this is that chefs are creative people, so they like to change their menus frequently. Instead, they are restricted by the high cost of having a designer create a menu for them.
This can now change with Easil’s Menu Maker
With Easil’s Menu Maker you can create menus with ease. And they can be printed just as easily. No designer necessary!
Let’s dive into our Ultimate Menu Maker walkthrough…

How to Create Menus with Easil’s Menu Maker
Creating a Menu involves using Easil’s Table Feature – which makes light work of your menu building. Let’s take a look at how it works with some step-by-step videos:
#1. Add your Menu Content
Firstly, you need to select a menu template. Take a close look at how the tables are laid out on the template to ensure that the style matches the menu content you need to format.
Note that tables are comprised of row sets and a series of columns. Easil’s pre-set options allow you to have between 1-4 columns in your menu.
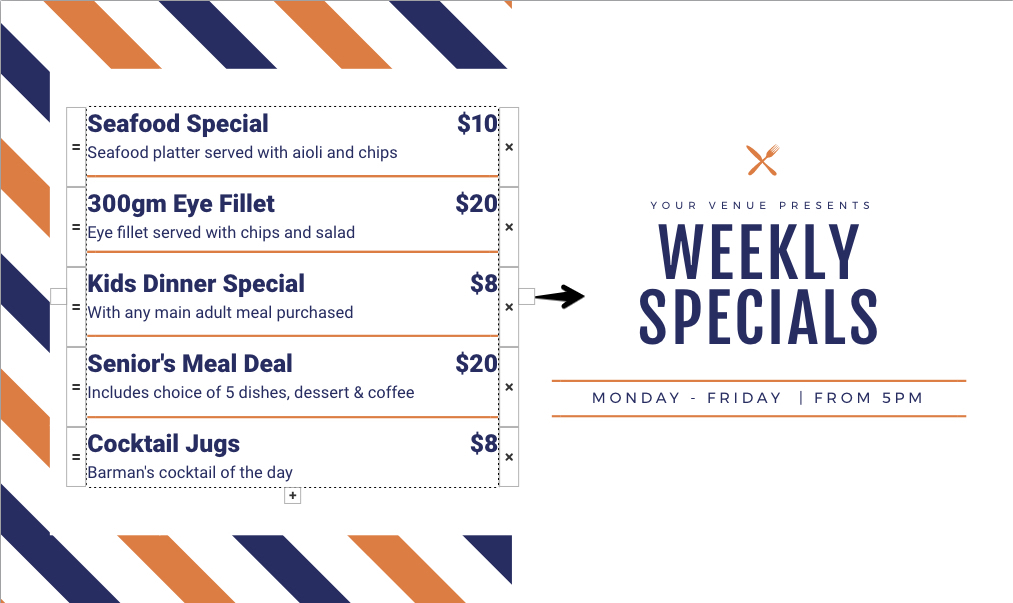
The example menu below uses a 2-column table. There’s one column for the menu item, and one for the price. This results in 4 cells on the menu design that can be formatted individually:
It’s important that you choose the column layout that best suits your menu. In this case it was a 2-column table with 4 cells in total. But it could be something different for your next menu!
Note that each of the resulting cells in your table can be formatted individually, which makes it easy to build your menu. You can also use the tab key to move between cells, or click on any individual cell to edit.
We’ve created our menu maker to be easy. Like we said above, it should be so easy to use your chef or manager can design a menu from the kitchen!
#2. Edit Your Fonts
When using Easil’s tables, you can change the font, font size, and styling throughout the whole menu – with just one click. Just select any
- headline
- body copy, or
- column cell.
Then, choose your new font attributes from the Actionbar and apply them! Don’t forget that you can upload and use your own brand fonts too.
#3. Re-arrange Items on the Menu
It’s inevitable that somebody will want to re-arrange the order of the items, once a menu is ‘finished’. Get ready.. that frustration is about to go away!
With tables, all that changes. We can hear you sighing from here. We hear ya! No longer do you need to contact your designer!
Now any chef, manager or team member can quickly amend the menu. It’s as simple as grabbing the control handles on the left side of any menu item, and dragging up (or down) to it’s new position.
Here’s a video to show you how it works:
#4. Delete a Row
Deleting an entire row on your menu is super easy. Just select any row, then hit the Cross/delete icon on the right side to remove the entire item.
#5. Resize your Table
It’s easy to repurpose your menu for use on social media or in another orientation. Just drag the resize handle on the right to increase the width.

This is also handy for creating smaller or wider columns within a menu as you work. Here’s how it works:
It’s That Simple!
As you can see, it’s easy to create menus with Easil’s Menu Maker. Our Tables feature makes it a snap so that there’s no more “tango” back and forth with your designer.
Your chef will be happy because they have the freedom to change up the menu any time.
Your customers will be happy because they are not waiting months for a new menu selection.
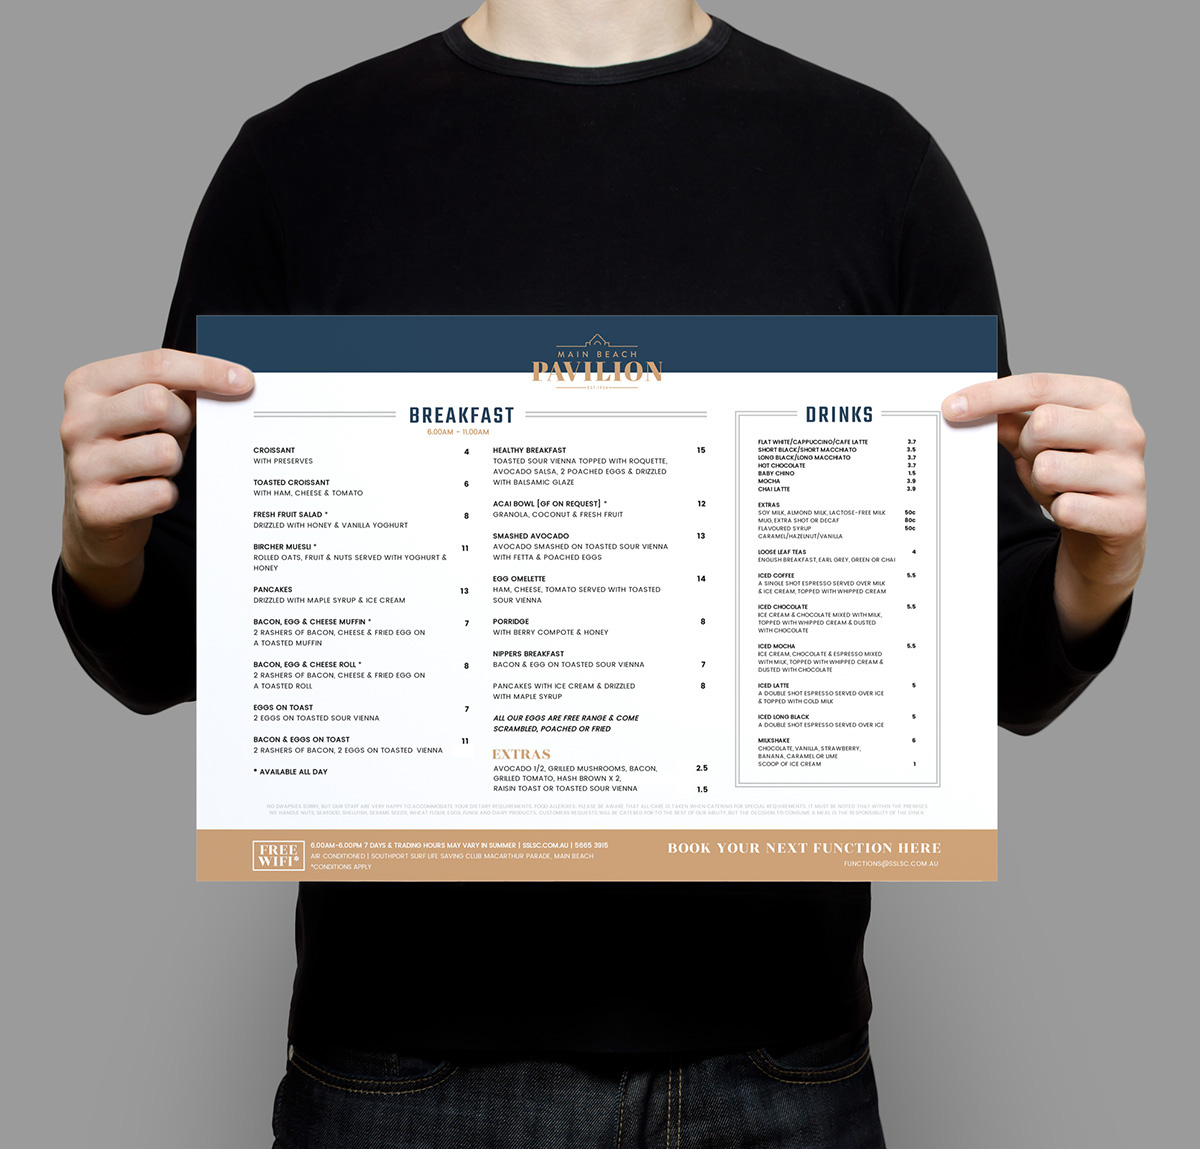
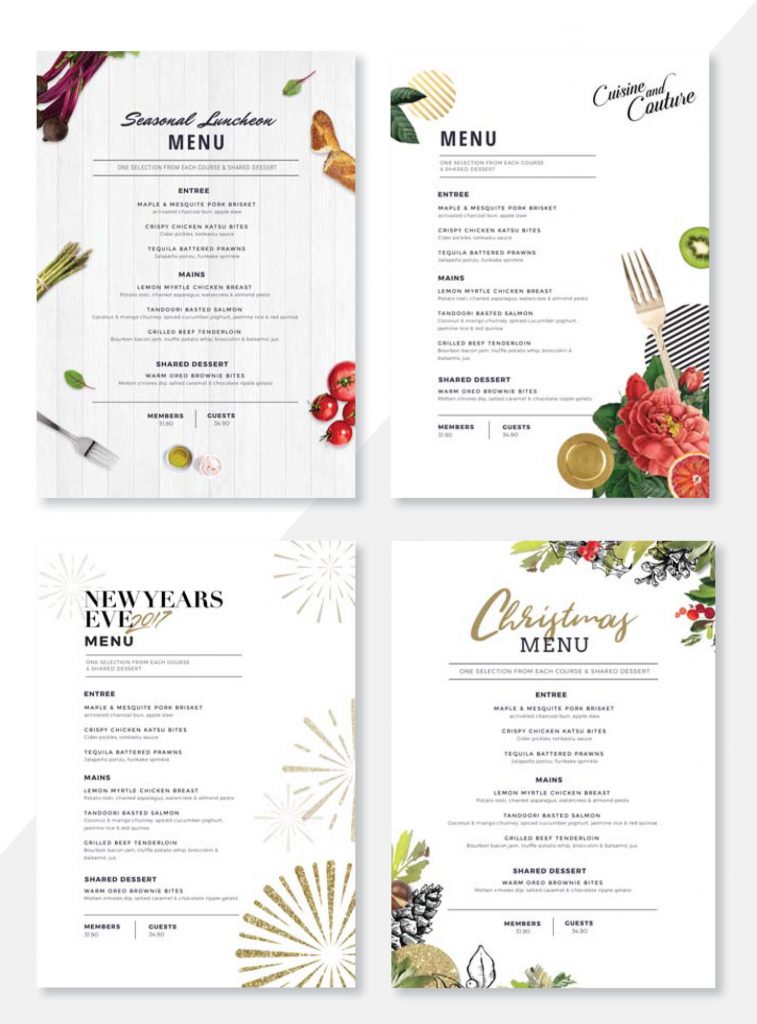
And just look at what you can create….

Now that you have the tools and Menu Maker to create menus quickly and easily, let’s take a look at a few hints and tips for menus in your restaurant or venue:
Menu Tips
- Highlight your Chef’s specials or high gross profit items with a feature box. You can do this easily in Easil by using the tables functionality.
- Create matching wine lists, table talkers, kids menus and seniors menus in minutes. Use the Menu Maker to streamline your design and create a series of designs at once.
- Use Descriptive language. This explains each meal, clearly and efficiently. It saves time having the waiter explain it each time and also has the customers salivating! Just keep it succinct.
- Use color with intention. The colors that work on an Italian, Mexican or Thai menu might differ from those of a cafe or Michelin Star Restaurant. Some may be bold, some may be subtle, so let your target audience guide you with colors.
- Use the templates in Easil. They have been designed by designers who have been working in the hospitality industry for year, so they know menus. They know what works and how to create seasonal menus. So, use the templates to guide your finished layout.
- Create your menu in sections. It makes it easier for customers to scan and find dishes or drinks. Lucky for you, Easil’s menu templates are created this way so it’s a no-brainer.
- Don’t over-do it with photos. A banner photo or background photo is ok but if you add photos of every meal it can clutter the menu. Keep photos to the minimum and use them to enhance the menu, not overpower it. Words are the priority here, so if you do use photographs, make sure they are of exceptional quality to show off your menu!
- Reduce the number of choices. There’s a phenomenon called the Paradox of Choice whereby two many choices leads to anxiety over what we will choose. This post from the Restaurant Coach, Donald Burns explains what you can do about it.
- Have more than one menu for different purposes. You don’t have to cram it all on to the one single menu. Consider splitting your menus – eg food, drinks and desserts. This is easy when you use Easil’s Menu Templates and our Menu Maker. You can create multiple menus in a snap!
Over to You
Are you tired of spending way too much time editing menus with your designer? Take our Menu Maker for a spin and tell us what you think!


