Whether you’re a video content creator, event speaker, influencer, or up and coming Podcast star, one thing you’re going to need to do to gain exposure through partners and brands, is to create a Media Kit.
This document is your grown-up, and creative equivalent of a CV. It shows off your skills, the audience you’ve worked hard to build, and what you can offer prospective brands to return bang for their buck!
A media kit is generally produced in PDF format so it can be easily emailed, or downloaded from your site, and should always be a highly visual document that aligns with your personal brand. Keeping it up to date is essential, so unless you have a graphic designer at your beck-and-call, it’s time to whip out the DIY Design tools so you can have it on hand for regular revisions.
Let’s walk through getting your media kit started now, so you have it ready for when opportunity strikes.
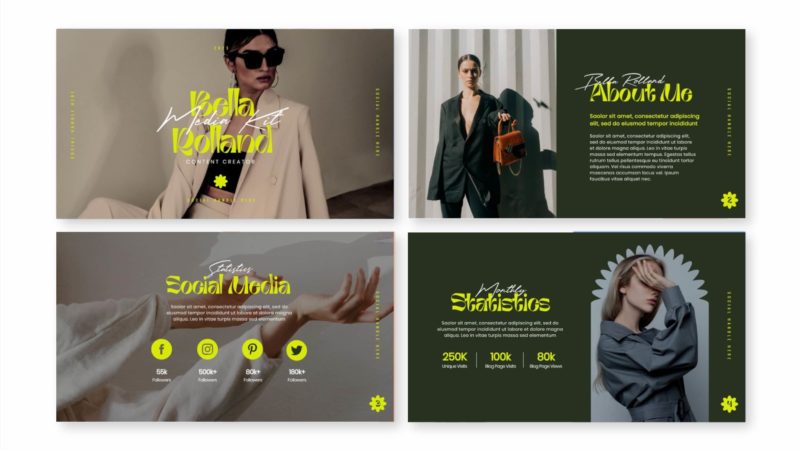
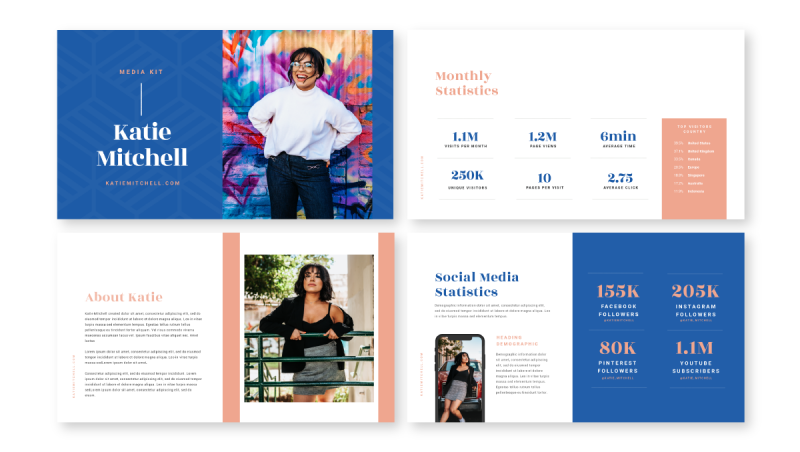
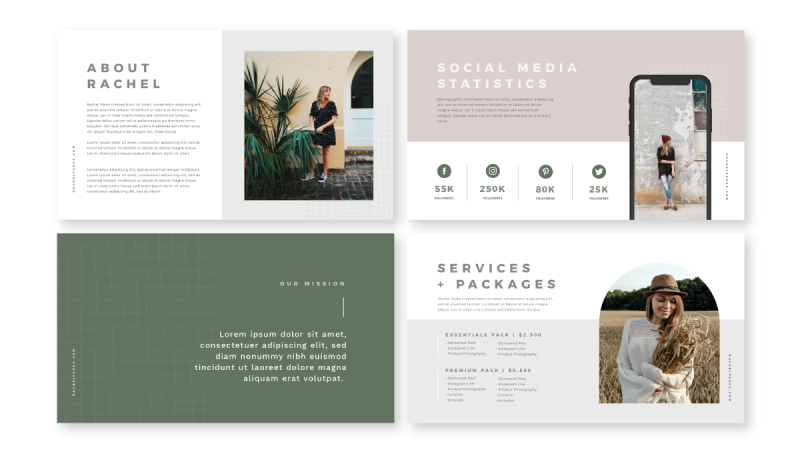
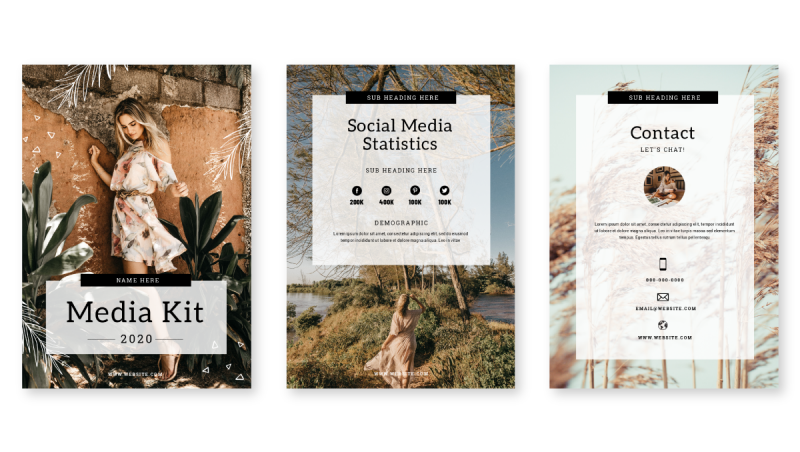
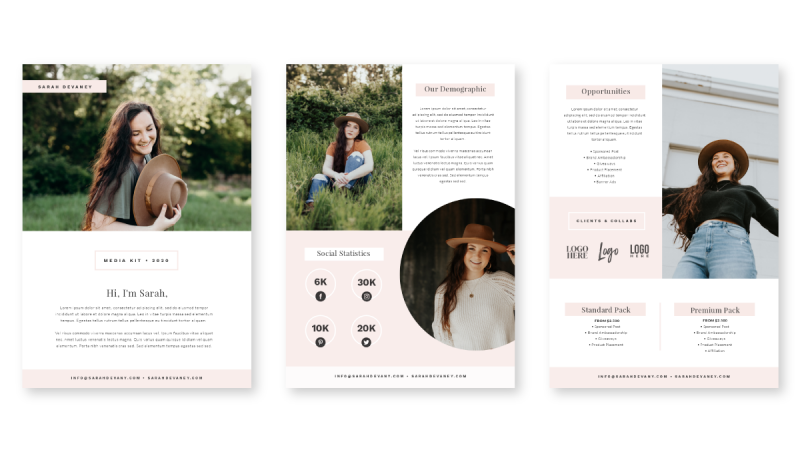
Here’s a quick look at the type of templates you’ll find in Easil to edit yourself (search ‘Media Kit’):
THE ESSENTIAL INGREDIENTS FOR A STAND-OUT MEDIA KIT
Whilst you could use your Curriculum Vitae to get started with building out your brand kit, it’s important to note that the content required within a media kit is quite different. So put that CV to the side for a moment, and start mapping out these different areas that you really want to highlight to a brand wanting to work with you.
Think of it more as a business proposal, specifically geared towards partnerships, with each section designed to build another layer of credibility.
Read through the below list of essential content sections that you should include in your Media Kit, jot them down, and only then move to choosing a design template once you have an idea of how much content you need to display.
1. COVER PAGE
If your document is comprehensive, you’ll definitely want to add a cover page to your document. Start with including a clear photographic image of you, your name and brand elements/logo, and your website, or an image that represents your brand.
If you’re starting out, you may choose a simpler format that encompasses all information into a single page.

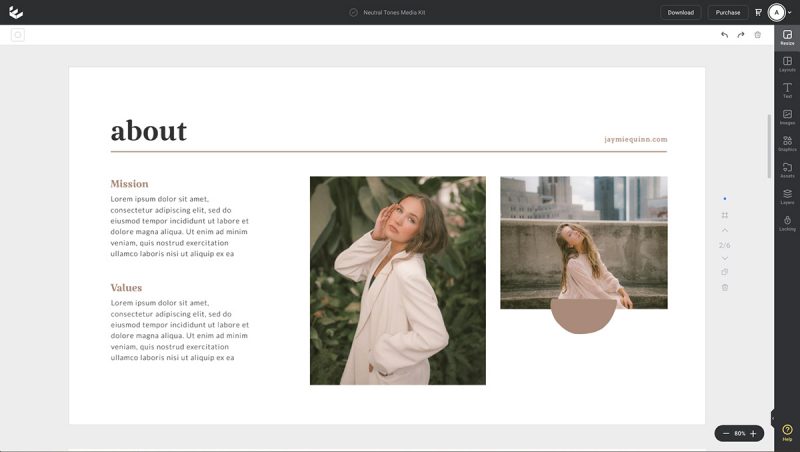
2. ABOUT ME / BIOGRAPHY / PROFILE
This is the section that informs your potential partner or advertiser about who you are, and why you’re qualified to work with them!
Inject some of your personality into this, and tell a story, but also ensure it’s broken down into easy to digest sections so that those skim-readers can quickly get a feel for your history, experience and style of work.
In this part you should also feature logos of past clients and projects to boost credibility. (Always use high quality logos when you can, and space them evenly on a line or grid for a professional look).
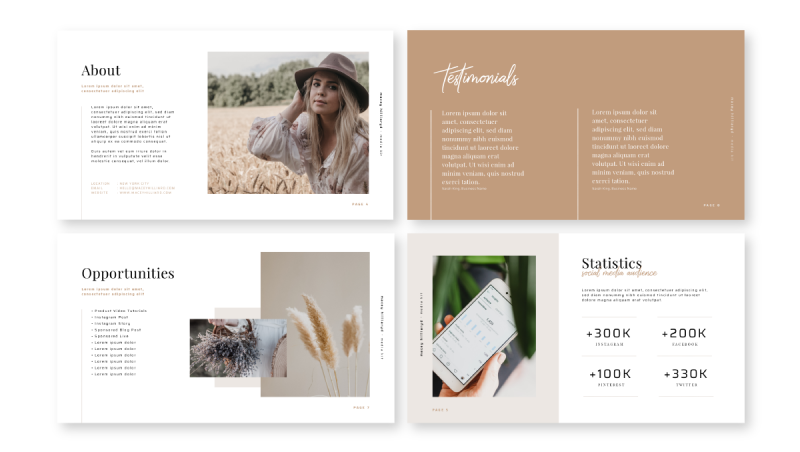
3. AUDIENCE / SOCIAL STATISTICS / TRAFFIC STATISTICS
These statistics are gold, and should be showcased in as much detail as possible, including:
- Audience Demographic information: Age of audience, gender breakdown, and geographic distribution that the traffic originates from (countries, cities) in percentages. Collect this information from Google Analytics, YouTube Channel Analytics, and Social Media Platform reports.
- Monthly Statistics: Outline the numbers – how many people you’re reaching on a monthly basis, and what kind of reach they could expect to see by partnering with you.
- Social Media Statistics: Alongside platform logos, add your followers and subscribers. Don’t forget to include any groups that you manage.
Hot tip: You can find various social media platform logos in Easil, by clicking on the Graphics tab on the right sidebar, and entering the platform name in the search field. Keep all icon styles consistent!

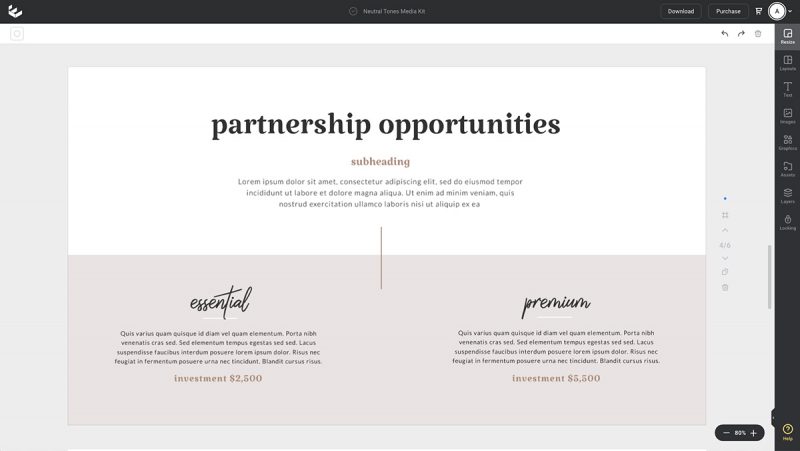
4. AVAILABLE OPPORTUNITIES
Outline the type of collaborations that you’re open to, and seeking.
Focussing on your dominant channel first, list your content production experience, and consider adding screenshots of completed content with each and engagement results. Showcase the type of partnerships you excel in, whether that be video production, written & graphics, or podcasting.
Be specific in what you can offer, and what the process will look like, painting the picture that working with you will be seamless, and successful! Ensure that you list any above and beyond skills that give you the edge over the competition.
You can optionally also include price guides in this section.
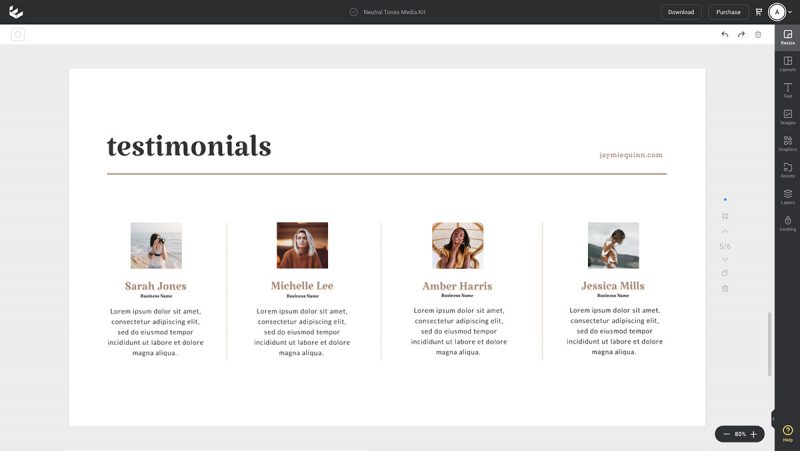
5. REVIEWS & TESTIMONIALS
Once you have any reviews and testimonials, you should begin collating them in your Media Kit. To add credibility, ensure you include the referrers full name, business name, and website or social channel, and where possible a photograph, or the business/project logo.
Hot tip: If you have overall ratings on platforms that rate ‘stars’, include them visually in this section too. (eg 4.6/5 Star Rating).
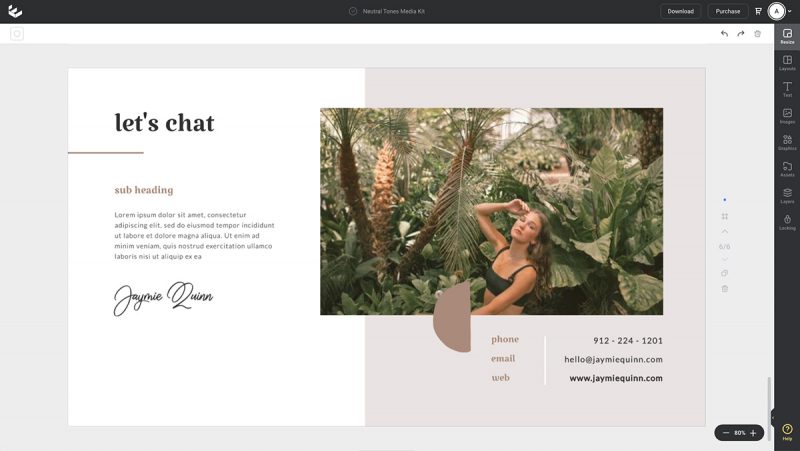
6. CONTACT DETAILS
Make it easy for potential partners to get in touch with you by listing your preferred contact details on this page. Include email, social media handles, and link to an enquiry form or chatbot, if you have one; or even your phone number!
HOW TO CREATE YOUR MEDIA KIT IN EASIL – WITHOUT A GRAPHIC DESIGNER
Once you’ve gathered the above information, you are ready to choose a template to start formatting in Easil!
If you are just starting out, and your quantity of testimonials and reviews are limited, you may want to opt for a 1-2 page Letter or A4 document style. However, if you can fill it out, a multi-page document with a focus on each new section laid out on 1-2 pages each, is far more impressive.
There are several amazing templates available for our Easil Plus and Edge subscribers, but we’ve also created 5 professionally designed Media Kit freebies to choose from here:
CUSTOMISING THE MEDIA KIT TEMPLATE
Customising your media kit with your own content is as easy as clicking to select, and swapping out to new design elements.
For text, double click the text box to edit the content inside. Once you’ve finished editing the text, ensure you still have the box selected, and you can use the drop-down font selector to apply a new font, change the size, color, and styling of the text inside.
To update image placeholders, click on the existing image, and then drag your new image from the ‘Images’ tab on the right sidebar, and drop onto the image.
To duplicate a page layout, click on the ‘Copy’ icon directly to the right of the page. You can then move the page/s within the layout by clicking on the up and down arrows. Delete any page layout by clicking the trash can icon to the right of the page you’d like to remove.
Follow these design guidelines to produce a professional level document, each and every time:
- Stick to the main design elements of the template. Use the image placeholders as a guide, and replace with your own images in their current location.
- Update the fonts, but try to keep them similar to the template ones. eg replace like for like in terms of sizing, and font style. Steer clear of using fancy or complicated fonts in areas of body copy.
- If you need to add more pages, try duplicating an existing page so that it works perfectly within the document style.
- When you’re done editing, download as a PDF format as it’s the easiest way to send off, and have your recipient scroll through the pages.
OVER TO YOU
Are you ready to start create a Media Kit that stands out? Reach out to us if you need any tips or advice, and if you nail any big partnerships, we’d love to hear! Tag us @teameasil with your news!